Showing posts with label Pickets Charge. Show all posts

Monday, 20 February 2023

Another trip down Route 1866

Last Saturday the Burrow was home to a capacity crowd with nine of us playing another 1866 Austro-Prussian War game using suitably amended Picket’s Charge rules. (Thank you Neil).  Dave, Richard, Ivor and myself were the Prussians while Nigel, Shaun, Mike and John H were the Austrians. Neil adjudicated.

The scenario was simple. One Prussian division with a cavalry brigade attached was deployed on the table. Another infantry division commanded by yours truly and more cavalry would arrive around midday (real time) somewhere along the baseline. ALL the Austrians (a full corps of four brigades plus heavy and light cavalry) were permitted to start on the table. They had to move fast if they were to drive the invaders back (again!) before enemy reinforcements arrived. 

Here are some pictures and a brief narrative of the game, in more or less the right order as I lost track of what was going on in the centre and on the right once my troops arrived.

The Prussian high command. 
The Austrian CinC looking unconcerned at the sight of the Prussians deployed  to their front.
The Prussians refused their left and held the centre weakly with a small North German infantry brigade, the cavalry, and the divisional artillery, while a brigade of solid Prussian infantry held the right.

The Saxon brigade on the Austrian left.
The Prussian right and beyond the thinly held centre

The Austrians massed their infantry in the centre but they were unable to take advantage of their superiority in artillery due to the congestion in front of it. 

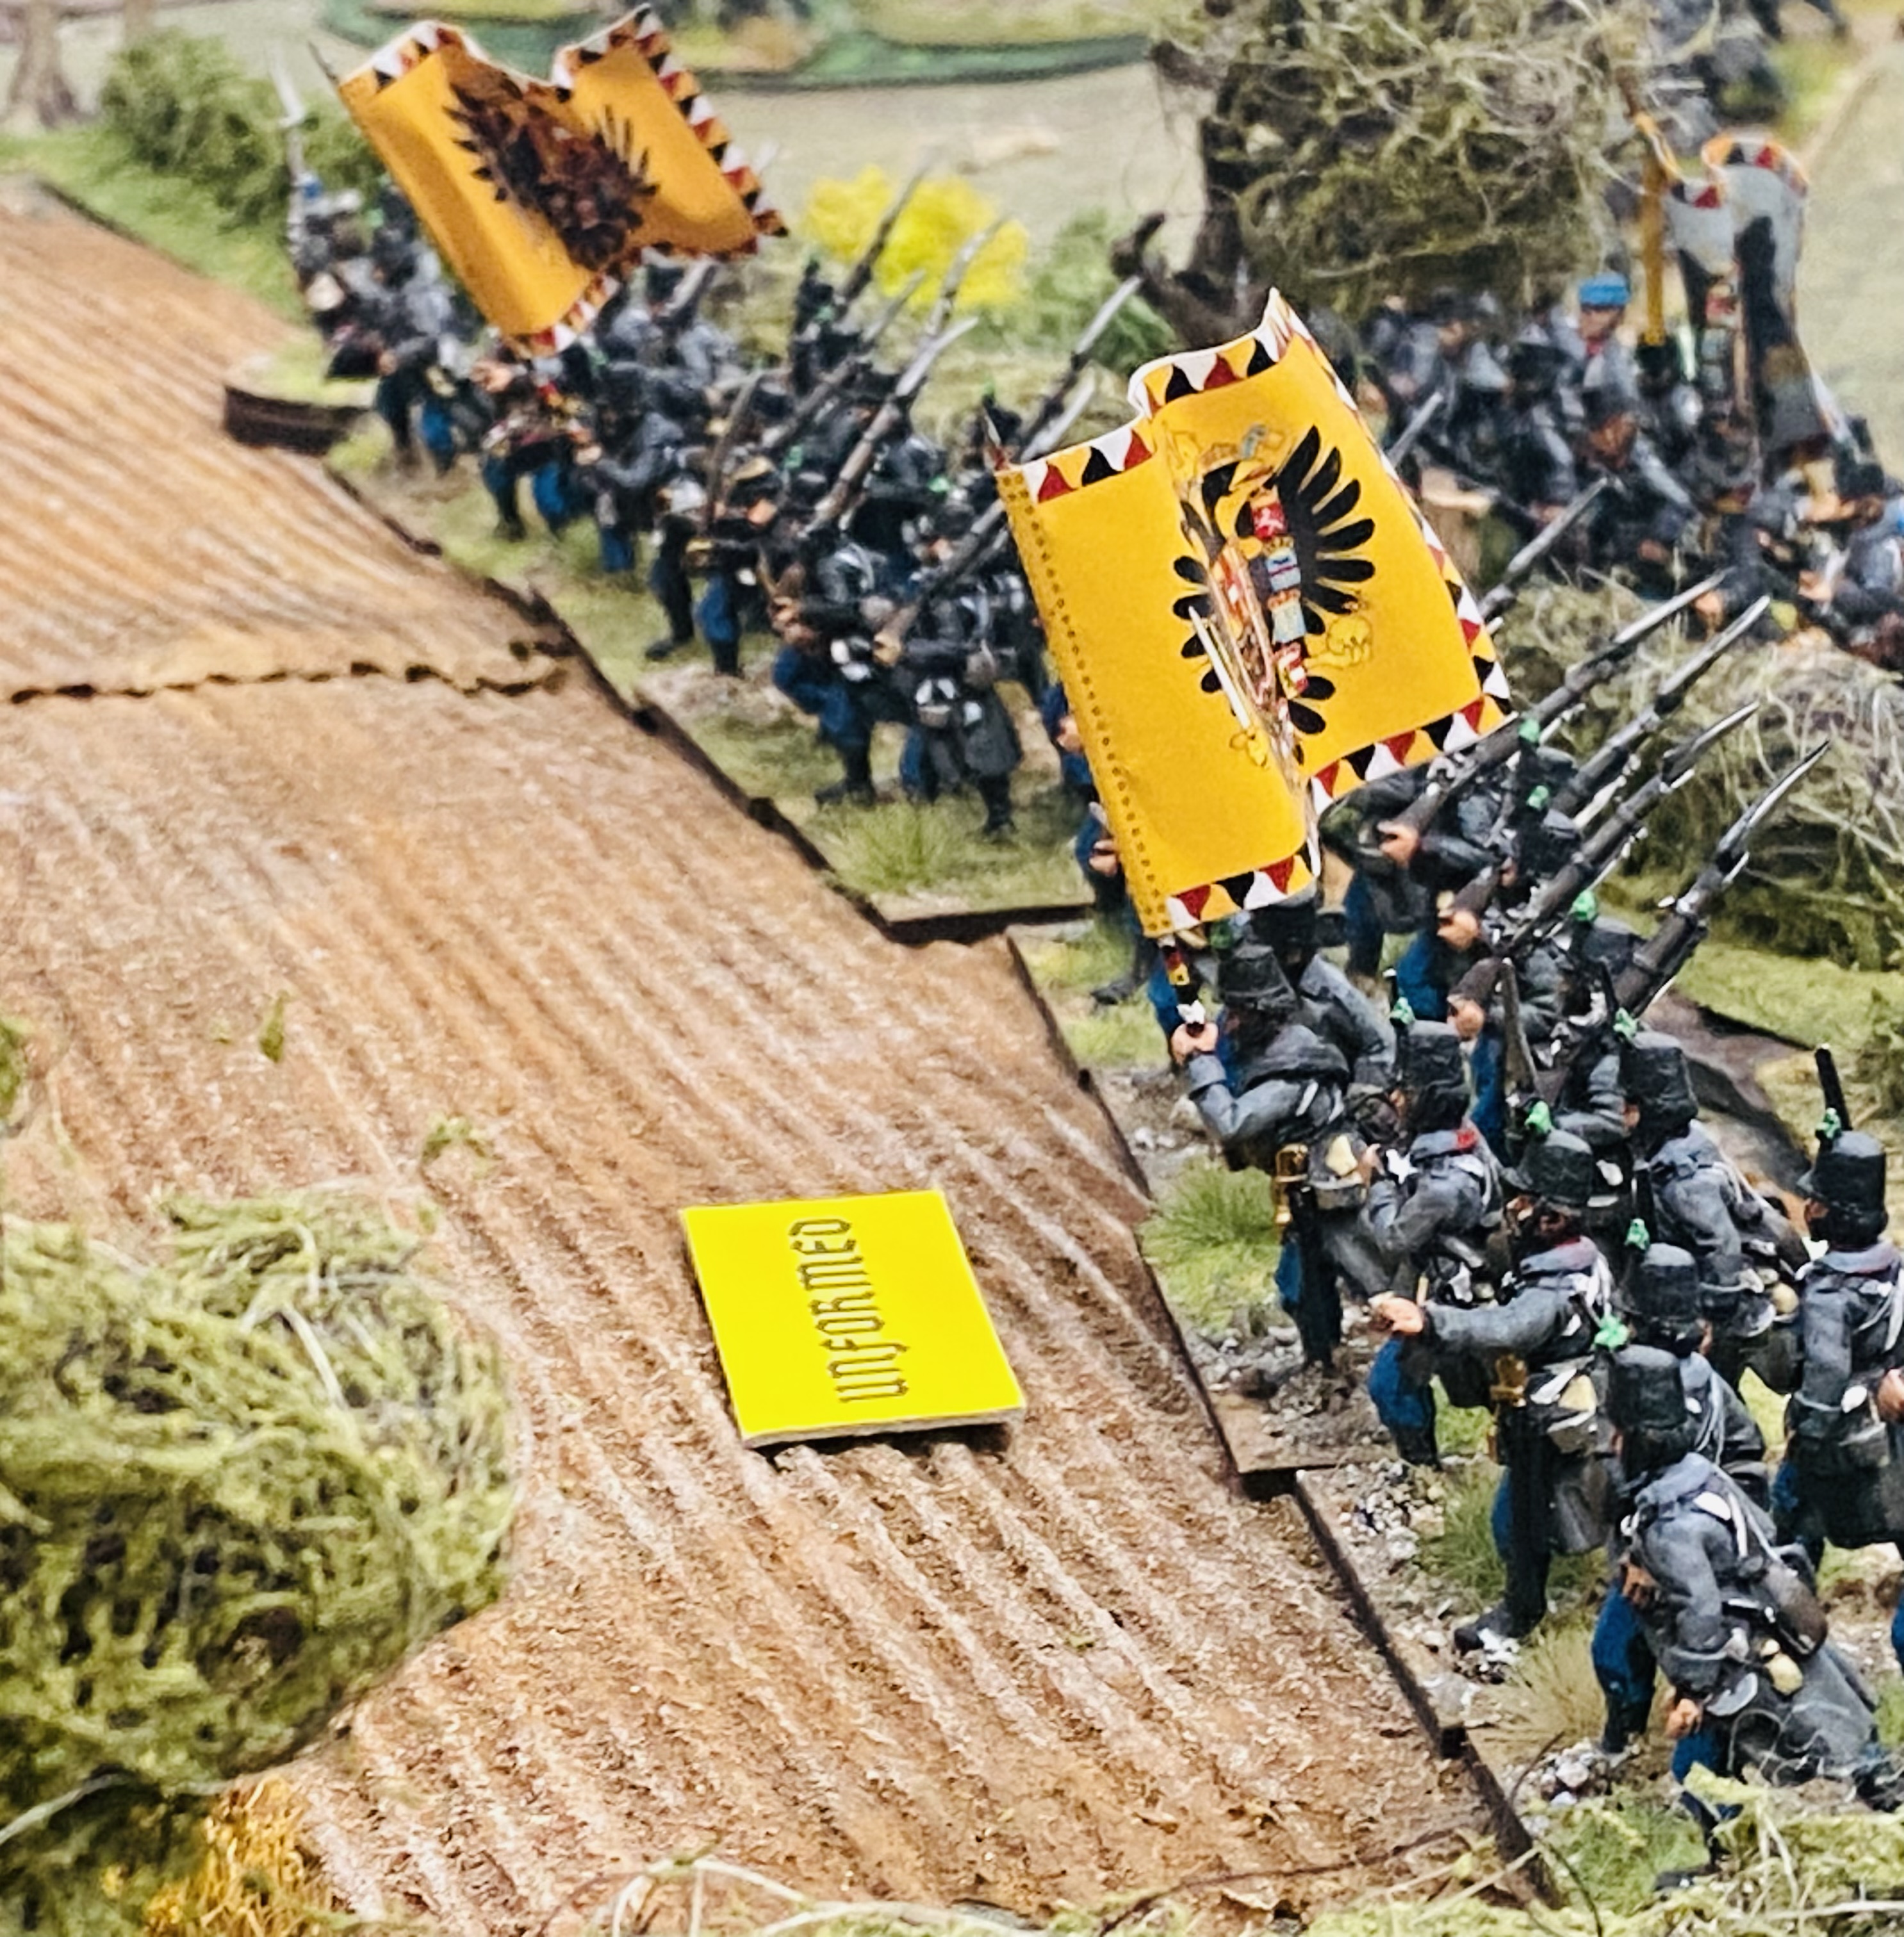
Enthusiastic Austrians in storm columns
Two North German battalions facing a brigade of Austrians bearing down on them. No pressure guys!
On the Prussian left my leasing brigade had marched up the road into a maelstrom as they were facing another Austrian infantry brigade and a brigade of light cavalry.

Richard’s cavalry in the centre wisely kept out of the way.
More Austrians….

The Austrians just keep on coming.

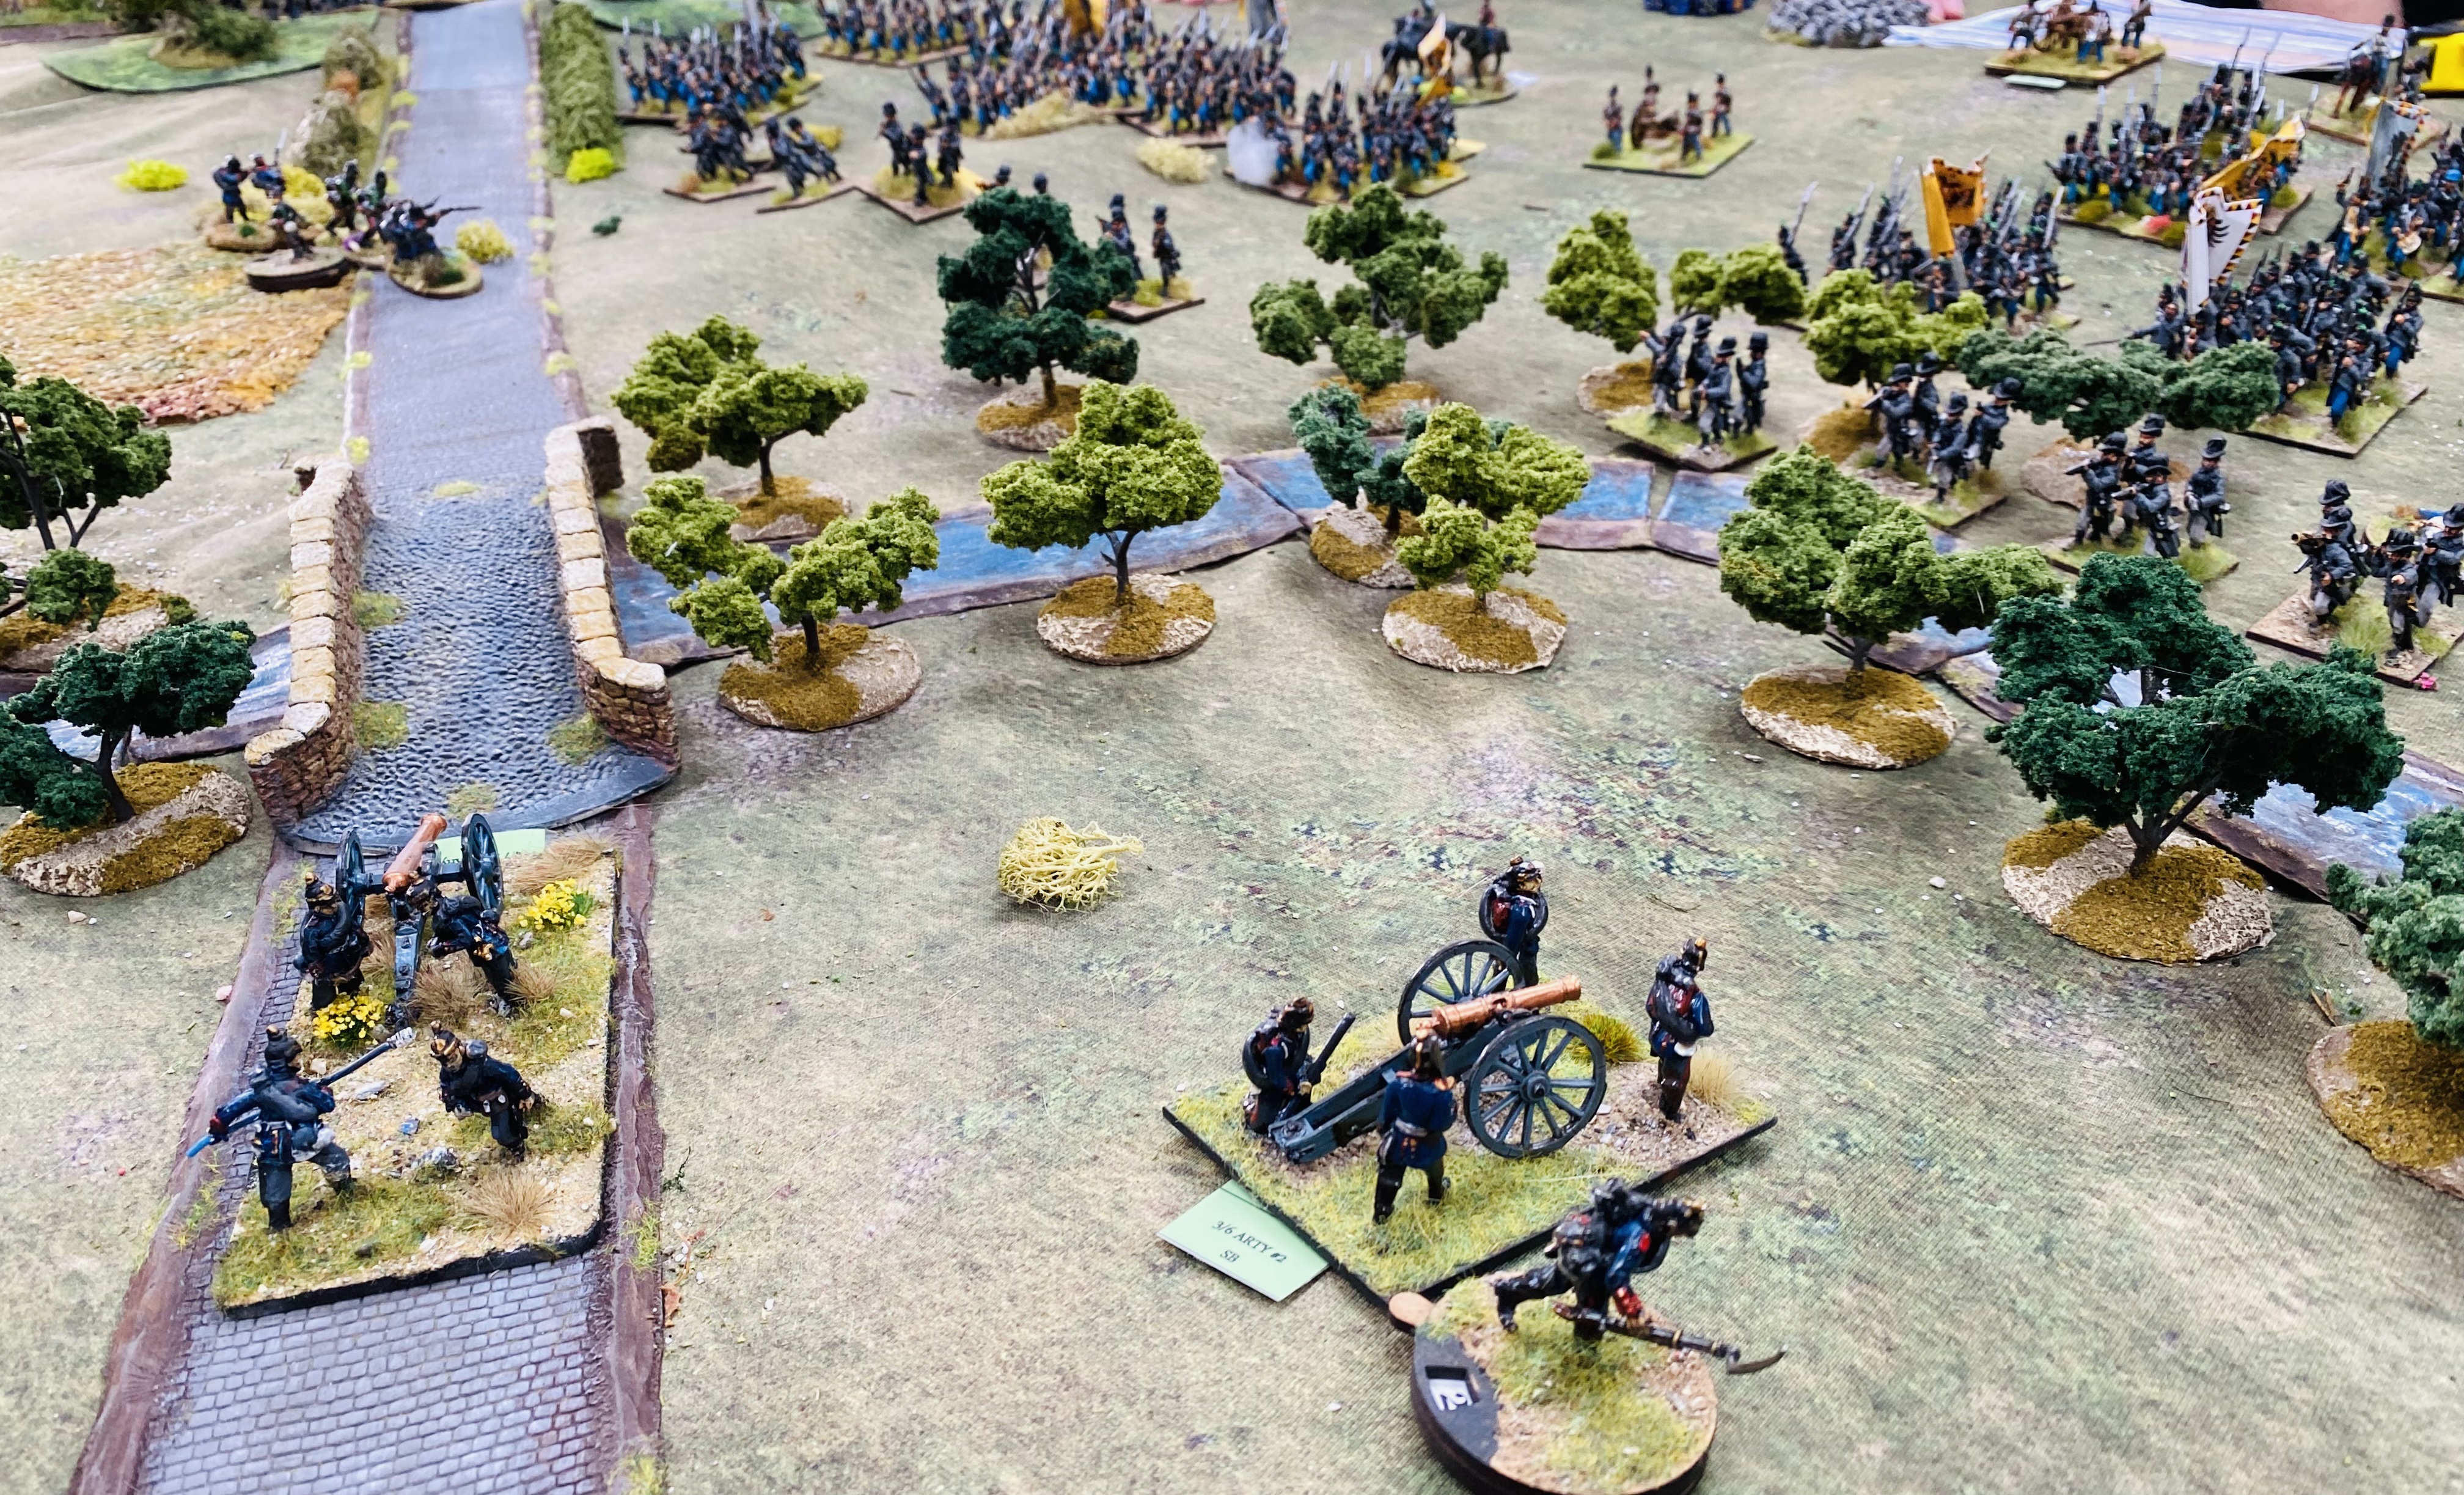
The Prussian centre was only held by a thin line of guns.

Mike’s cavalry ready to pounce on my brigade in march column. I wouldn’t have chosen to join the battle in this formation but the scenario rules I created forced me. Doh!

Forwards!

The central Prussian brigade faltered as the enemy pressed home their attack. Thankfully they passed the test and carried on.
Mike threw his cavalry and infantry towards my Prussians. Despite being caught in march column every Austrian attack was bloodily repulsed. That result seemed very wrong but as my units were well supported and I threw much better dice than Mike the Austrians were destroyed or forced to retire beaten.
The right wing of the Prussian army advanced against the Saxons facing them.

Saxons on the Austrian left. 

Storm Columns
The Saxe Altenberg battalion engaged in the centre.

In order to buy some time in the now crumbling centre Richard launched his cavalry against the advancing Austrians. A brave sacrifice indeed.

Austrian artillery. The Austrians weren’t able to make very good use of their artillery as they were crowded out by the massed infantry columns in the centre. Austrian doctrine called for the artillery to be brought into action as soon as possible.

Mike’s Austrians attempted to halt my brigade as it marched up the road. Again march columns prevailed over the assault columns. Mmm?

Another futile charge by the Prussian dragoons in the centre.

The Austrians pressed on in the centre.


Cuirassiers and Uhlans of the Reserve Cavalry made a late entrance to the fight. Too late to influence the outcome.

We called a halt at this point due to running out of time (4pm and we’d been playing for about five hours). The outcome was technically a draw - neither side had achieved their objectives although I suspect that when the remaining Prussian reinforcements arrived they would be able to push the Austrian right wing back; the Austrian and Saxon troops on their left had already been pushed back so the centre was at risk of being enveloped, given time and a few good dice rolls.

A tremendous game I thought which everyone seemed to enjoy. Some useful lessons learnt for next time as well and a very few anomalies need tweaking eg march columns, and maybe the skirmish rules we’ve imported from GdA need a minor adjustment. The poor Austrians don’t get ANY brigade skirmish screen bases as they didn’t use them; the jäger can skirmish but in reality they were used as elite shock troops and frittered away.

This is my last game until I’m back off holiday in India at the end of March. Can I survive Seven weeks without a game or without painting anything? 

Friday, 27 January 2023

“Get your kicks from Route 1866!”

This post is a bit late but last Saturday the guys were here at the Burrow to play an 1866 game using modified Picket’s Charge (largely done by Neil with a bit of input fr4om me). John, Neil and Paul (seen below) were the Prussians, while Conrad, Nigel and Mike played the Austro-Saxons but without wearing spiked hats!

The scenario was a fictional mash up of the frontier battles at the start of the war, with the Prussians needing to quickly debouch from the mountains (just off table to the left in the photo below) and push any Austrian resistance out of the way. Neil kept us right with the rules which was of great assistance in keeping the game moving.

Here then is a brief narrative and some photos to show how the game played out. Enjoy!

The Prussian triumvirate looking suitably pumped before the game.......
The battlefield.
Nigel commanded a brigade of Austrian light cavalry over on the Austrian left. They looked splendid but apart from their attached horse artillery took no part in the battle other than being a target for Prussian gunners. 

The Prussians have advanced rapidly in the centre and are moving up the hill in the teeth of six batteries of the Austrian corps reserve artillery (including a rocket), a tactic that did not work out too well.....

Paul's Prussians on their left made a more stately advance towards the  thinly held Austrian right.

Prussians on the attack.
Neil’s divisional artillery was held up on the road and unable to deploy until quite late in the game. I really must think about limbers for these armies.
Undaunted by the Austrian artillery, the Prussians continued their attack in the centre.
Although the Prussian assault in the centre was bloodily repulsed the Austrian artillery took heavy losses and several batteries were withdrawn rather than risk them being destroyed. They were replaced by fresh batteries from the Saxon division as seen here. Quite a realistic bit of damage limitation.
The central Prussian attack, now with artillery support.
On their right flank the  Austrians were attempting to enfilade Paul’s attack
The Austrians advanced against the Prussians facing them on their left, but were soon forced to pull back out of the killing zone that was the field, and shelter behind the hedgerow.
 Prussian dragoons crossing the stream behind elements of Johns advancing division.
A Saxon brigade held the hill in the Austrian centre, supporting the corps reserve artillery.
Paul chose to use his cavalry brigade to buy some time for his beleaguered and battered infantry on the left. They charged the Austrian right wing. Guess what happened……
A battalion of infantry from Anhalt.
Fierce fighting in the centre.
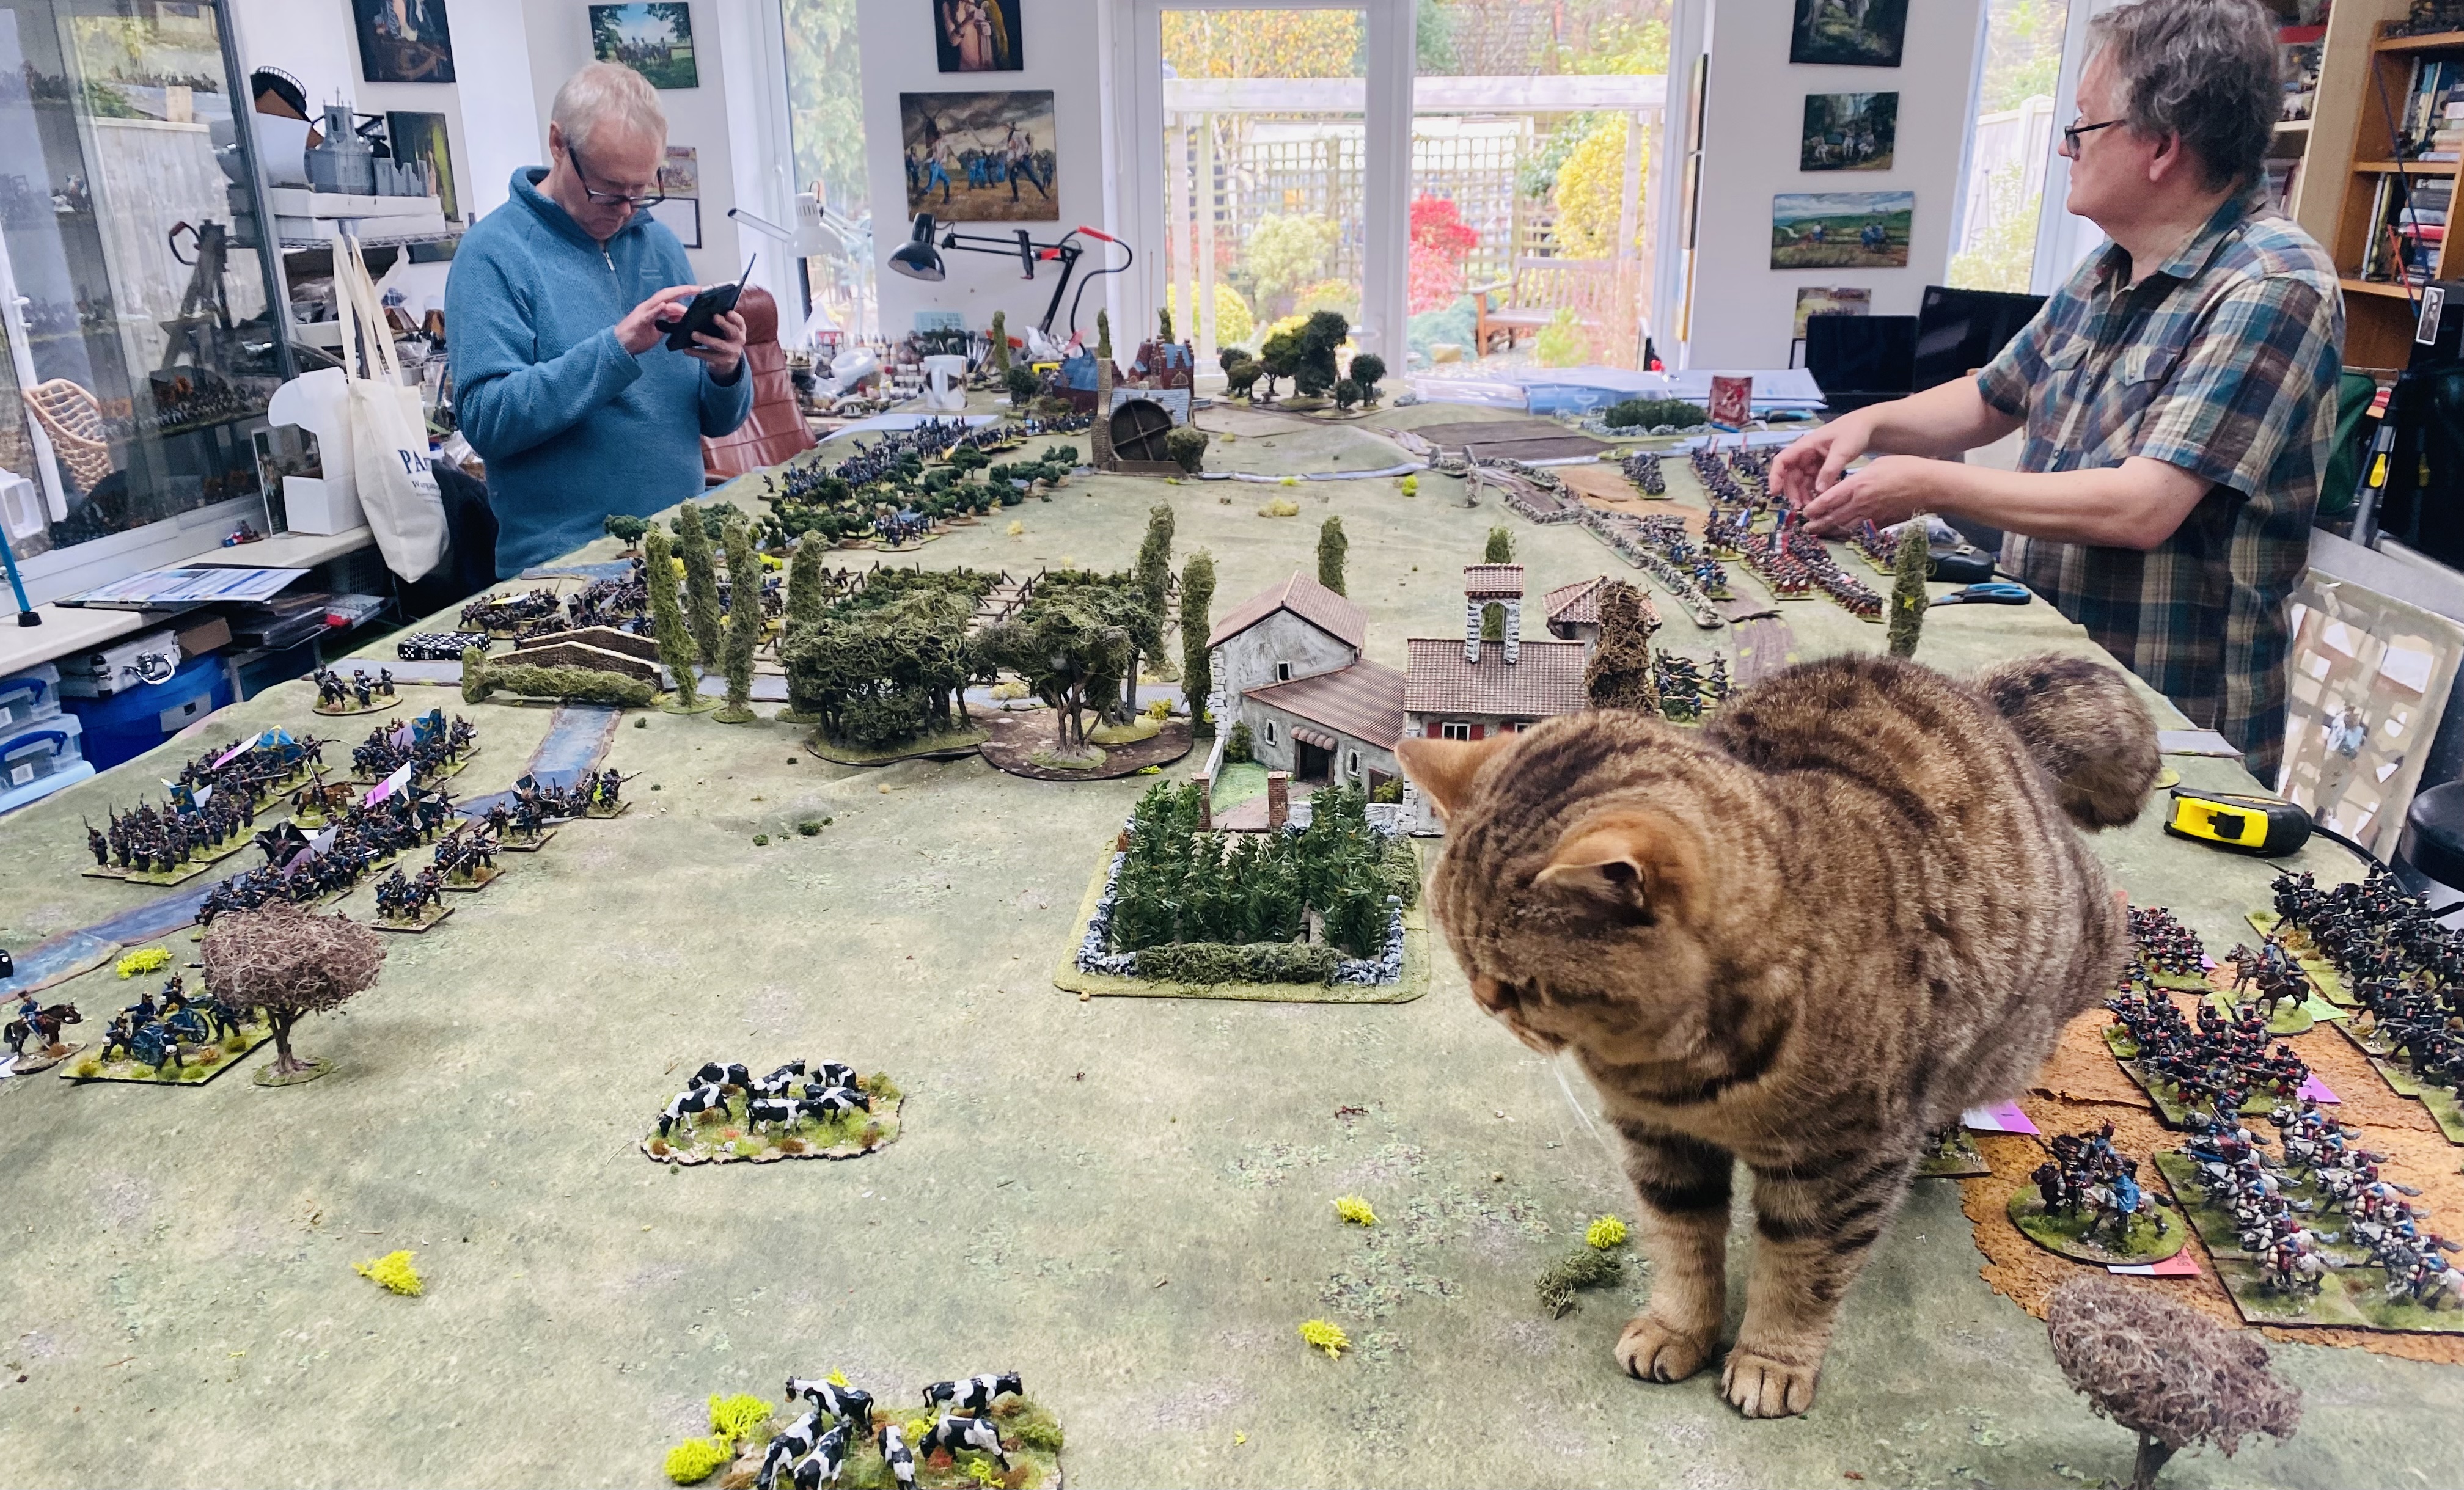
Exhausted cat

War sure ain't no picnic, except here it is....

The Prussian attack was seriously blunted so by the time we had to cease fire it was clear that the Austrians had achieved their objective of halting the enemy invasion. Of course, they'd only won a short reprieve but it was enough. 

The rules and amendments worked nicely, with maybe a few more tweaks needed, and we shall be looking at how to best reproduce skirmish screens as they don't really figure in PC but are an important part of GdA. Of course, the Austrians were not known for their skirmishing compared go the Prussians who would keep feeding more men into their skirmish line to overwhelm the enemy by fire.

We also had to remember to space out the artillery batteries as while I only have a single gun and crew representing a battery, the rules suggest three models. Now, trebling the number of guns and crews for four armies (these two and the French and Piedmontese) is not going to happen but I have  an idea using some sabot bases which I shall try out.

The return to the Six Weeks War has got me enthused into finishing off what figures I have left to do, so I am busy with them now; a few (six) Austrian battalions, a hussar regiment and for the Prussians, the troops of the Oldenberg/Hanseatic Brigade.

I am planning to have a game during the week and then next Sunday it is Vapnatark, the York show.

Saturday, 5 November 2022

Franco Prussian War encounter

This week we had a mid-week game and played a FPW game here at the Burrow with rules based on Pickets Charge but with the obvious ACW references removed and replaced as appropriate with language and rules to accommodate and hopefully replicate the weapons and tactics of what I lump together in what is widely known as Bismark’s Wars. Neil had done a lot of great work on this transformation, and the rules worked well. We had all played Gen D’Armee in the past so the game mechanics were not a mystery to us, once the dormant muscle memory had been dragged  once more towards the forefront of our brains.

The French under Neil and myself were holding a ridge line, a ‘position [not very] magnifique’ with two weak divisions of infantry and two of cavalry. The Prussians (Conrad and Nigel) had the best part of a corps (less one brigade) supported by a cavalry division. The Prussians had a significant superiority in artillery which was to be a distinct but not critical advantage as they didn’t deploy their guns to the best effect. 

The French centre

The Prussian General von Clawswitz observing the French light cavalry division.

Looking down the table past the cat.
In order to divert the attention of the Prussian artillery from my infantry my light cavalry bravely exposed themselves on the left wing, attempting to outflank the enemy on there hill to their front. They nearly made it!
The Prussian dragoons wisely keeping out of the way.
Two regular battalions about to occupy the field. The third battalion of this regiment can be seen to the left in skirmish order, just before they bore the brunt of three Prussian artillery batteries and fled. Due to a bizarre stroke of luck I managed a double six so got to throw on the 'serendipity table.'  This resulted in the Prussian commander panicking and he ran to the rear causing his brigade to falter! 

Neil's troops in the centre.
The village was quickly occupied by two battalions of Colonial infantry.

Conrad's infantry in the centre advancing through the vineyards towards the French centre,.

Shortly after the earlier photo was taken the Prussian assault is halted in its tracks and the brigade falters.
The French right, facing a major Prussian thrust.

On the French right the Prussians were pressing forward.

Two battalions of infantry secure in the crops, with support from two battalions of  Colonial infantry in the village.

Von Bredow's brigade of cavalry prepares to advance, thoughtfully masking the Prussian artillery.

Nigel ordered his cuirassiers to charge the French guns. Predictably they were  blown away and fled.

While the cuirassiers were being shot to bits their sister regiment attacked a battalion of Zouaves. Guess what? The hussars were annihilated.

Prussian artillery on their left. Six batteries should have made a big impression on the French lines but they were not well placed and had limited fields of fire.

The final attack mon the Prussian right was repulsed and the now faltering brigade had to withdraw.

By this time it was clear that the Prussians were not going to dislodge the French from their positions, even with their left pushing the French back as two off their brigades were faltering and a further one (the cavalry) had been destroyed. The Prussians were slightly outnumbered but I had assumed their artillery would play a more prominent part, which it did not do.  Never mind, as in the overall narrative, the 'missing' Prussian brigade and their corps reserve artillery would appear on the French right flank and roll the line up.....in theory, but that's another game.

The adaptions to Pickets Charge worked really well and to be honest apart from the weapons and troops types/classes there was little to change beyond some of the ACW-related language. I look forward to trying these again, either another Franco-Prussian game or perhaps Austro-Prussian. And as I wrote this I remembered my plans to adapt Gen d'Armée to the Crimean War............

Every time I get these figures out I end up buying a few more or I dig out whatever I have that are unpainted and get all enthused for a week or two. Now, do I need to reorganise the armies? 

Thanks to Conrad, Neil and Nigel for playing, and also to Conrad for the scones  contraband.