Tuesday 30 November 2021

Dust of Glory review.

I seem to be getting through quite a few reviews these days, but in these days of too infrequent wargames and my painting mojo going up and down like the proverbial fiddler’s elbow I hope they fill the gaps between game reports and similar well enough. 

I thought Bill Whitburn’s previous book ‘Bright Eyes of Danger’ about the Anglo-Sikh Wars was excellent so when his latest book appeared on my radar I had to get it. Helion have done it again with another masterpiece’Dust of Glory, the First Anglo-Afghan War 1839-42, it’s Causes and Course’, the latest in their From Maxim to Musket series.

First impressions? Superb. The original cover illustration of Shah Sujah’s horse artillery is splendid and full of action, and drew me in at once. The whole sorry tale of the events leading up to the war and the war itself are covered in over 400 pages of scholarly writing in a most engaging and fascinating account. The First Afghan War is not a subject that is widely covered, but this highly readable product of what has clearly been a significant level of research puts that right in an ‘all singing, all dancing’ way.

The causes of the war suggest that modern-day politicians and generals do not read history. The war began in response to a Russian-backed Persian invasion of Western Afghanistan, and when that fizzled out, instead of standing down the ill advised Governor General ordered the invasion of Afghanistan to go ahead anyway with the sole purpose of regime change. Sound familiar?

The author takes us through every stage of the campaign in great detail. Many readers will be aware of the retreat from Kabul, the last stand of HM 44th Foot and of Dr Bryden, one of many ‘sole’ survivors. But the war encompassed far more than the ill-fated retreat, and included a significant number of battles and assaults, many less well known, like the last stand of the 4th Ghurkas. The fascinating political moves, the planned response to the Persian invasion, the involvement of the Sikhs and plans for the installation of Shah Sujah as king and a puppet of the Honourable East India Company, all taking place before the actual invasion are examined closely and could merit a book in their own right.

Extracts from a an absolute mass of contemporary documents and personal and official correspondence are spread liberally throughout the book, and these as always add context and depth, as well as a human element to the narrative, whereby it is possible to better understand why actions were taken, or weren’t. In occasional examples, one might very well question the motives of some of those involved, or the original writers’ false impressions of the situation and gross underestimation of the opposition that the invaders would face, but then again, put in the context of the time, perhaps not.

The book is well illustrated with many colour and black and white plates of contemporary illustrations, some of which I’d not seen before. There are also plenty of useful maps to help the reader through the text. (I have to say one more word about the cover illustration by artist David Rowlands, insofar that prints of the original painting are available from the artist for a very reasonable price).

The book is well written, with an extensive bibliography, and  several particularly interesting appendices. This should be the ‘go to’ reference for anyone with an interest in the war. If you don’t own any others on the subject then get this one.


Wednesday 24 November 2021

Late Roman Campaign #3

I thought I would continue with what I started the other week and reproduce the next edition of the Asienus Gladiator, the periodical of Asienus Province, which doubles as the journal of the Late Roman v the Ostro/Visigoths v Huns v more Late Romans campaign I’m running at the moment. It represents the only general feedback the players receive about the wider going’s on in the province; even the silly adverts might have a hidden meaning for those who wish to interpret them that way or can understand my twisted mind!

So here is the second issue of the now fortnightly’ish periodical (brought to you as ever by our sponsors Brutus Bastardus Life Assurance). Click on each image to embiggen them.


We have a run of two or maybe three games to play before moving on to T4 in the campaign. There will no doubt be enough material for a bumper edition!


Tuesday 23 November 2021

Battleground Stockton 20 November 2021

I trundled along to my favourite show of the year, if only because it’s only a few minutes drive from home. I wasn’t putting a demo game on this year as my spinal problems effectively prevent it, and would also impact on the quality of the game, which I wouldn’t want.

Anyway, Conrad and several other frequent attendees at the Burrow were putting a game on under the Durham Wargames Group banner, of which more later.

This show has free entry and very good and cheap hot and cold refreshments, this maximising the pennies available to buy wargaming stuff. The traders who attended represented a good cross section of local and national manufacturers and re-sellers, although Murphy’s Law being what it is the two local traders I really wanted to see were absent. Never mind. After staring at all the empty shelving on the Last Valley stand I enjoyed browsing rather than buying, and took in some of the games. The photos below are simply ones taken at random during the couple of hours I was there. If I missed someone, which I must have, it was nothing to do with the game.

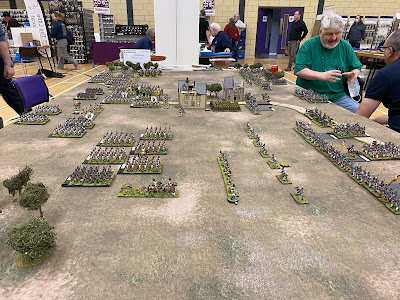
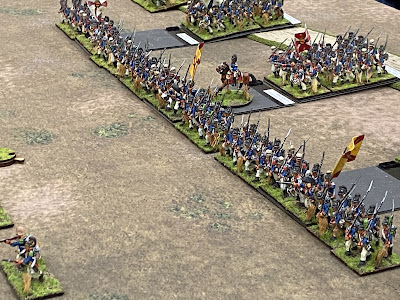
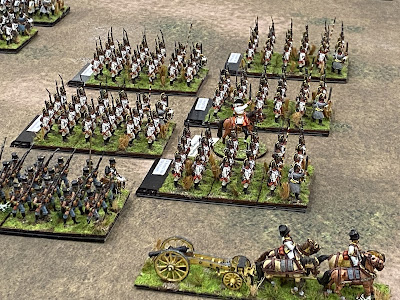
Border Reivers put on a colourful Napoleonic from the 1809 campaign, with Austrians facing an assortment of French and their German allies.

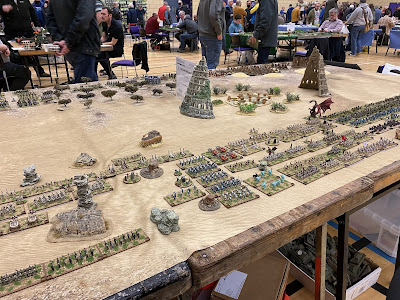
This looked very impressive from a distance, and close up to be fair. Fantasy is not my cup of tea but it was big and colourful.

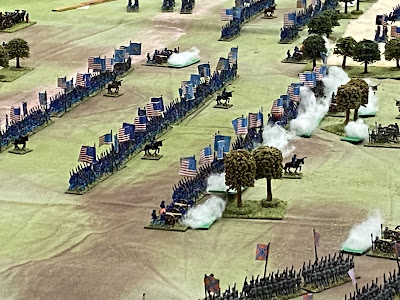
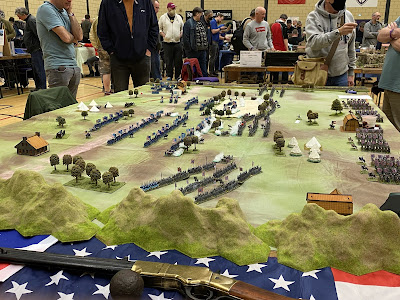
The Westerhope Club put on an ACW in “Warlord Scale” (13.5mm or something bizarre). It looked very nice indeed and were it not for the fact that all the add-ones you might want for your armies, eg zouaves, run quite expensive I might be interested.
This and the following couple of photos are of the Durham game, ‘Once upon a Time in West Africa’ and was definitely different, extremely colourful, and well presented with loads of blurb. The game was set in what I assume was sub-Saharan West Africa fought between two rival kingdoms sometime in the 17thC I think. 


Another photo of the Border Reivers game

…and a final shot of the Westerhope  ACW  game.
There were loads of other games that would have also merited a photo but as I said, I wasn’t in a photo frame of mind, and I’m sure other bloggers will have more.

A good show, and I met up with plenty of people I’ve not seen for quite a while and only bought an MDF building and two second hand books. I even got home in time to watch the England v South Africa match.


Monday 22 November 2021

The Onin War Reviewed


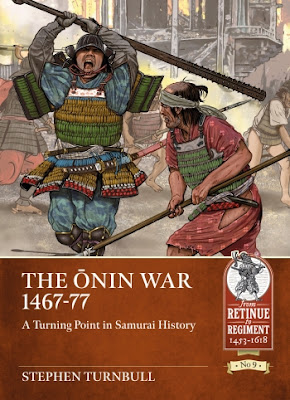
Number 9 in Helion’s series ‘from Retinue to Regiment 1453-1618’ is The Onin War, 1467-77. A Turning Point in Samurai History, by the great Stephen Turnbull. I have been a big fan of Dr. Turnbull’s books on Japan and the Samurai for as long as I can remember so I was excited at the prospect of reviewing this book.

I believe this is the first book in English that covers the destructive and bloody Onin War which ravaged the country, and the capital Kyoto in particular, for 10 long years. Concurrent to the war, the country suffered from famine, drought and floods, which further added to the death and destruction which descended on all levels of society. Unique to this war was the street-fighting that went on within Kyoto, conducted by the warring lords from fortified mansions, which was almost Stalingrad-like in its ferocity and destructiveness.

Dr. Turnbull’s narrative takes us from Shogun Ashigaka Yoshimutso at the height of his power through the steady decline of his family and the weakening position of the Shogun, culminating in the start of the Sengoku period in Japanese history, where the power and influence of the Shogun was greatly diminished and he ceased to hold sway over the entire country. This tale of bloody coups, murder, assassinations, ferocious battles and quite fluid loyalties is described in tremendous detail, which makes it all an enjoyable, fascinating and absorbing read (especially once the reader has got their head around the multitude of Japanese personalities who appear throughout the book). The book is lavishly illustrated with a good selection of maps, many lovely contemporary illustrations and a number of present-day photos of key locations and existing architecture. As one would expect this subject has been extensively researched, using many previously untranslated primary sources.

Anyone with an interest in this period of Japanese history really should get this book. You will not be disappointed.

Sunday 21 November 2021

Italy 1943

On Friday my mates Tim, Barry and Togs from the Like a Stone Wall group joined me and Conrad for a game. When I had originally told them I wasn’t going ahead with a demo game at Battleground they very kindly offered to come for a game on Friday, and they even offered to bring all the troops and much of the terrain with them as well. I set up as much of the table as I could, as Tim said he’d bring the buildings and other terrain items. The game was in 1/72 scale and pretty much most of the vehicles and all the buildings had been 3D printed by Togs, and damned good they were too, being a mixture of plastic or resin creations made from files readily available on t’internet for free of for very cheap. The buildings are particularly impressive.


Now, regular readers will see that anything beyond the 1930s is pretty much absent from this blog, certainly for many years; one has to stop somewhere I suppose. Anyway, Tim umpired while Togs and I were the Canadians and Barry and Conrad the German Falschirmjager. We used a set called Iron Cross, with a few house rules, and I have to say that they were very easy to pick up and the mechanics of the game really quite simple. I won’t begin to describe them, other than to say that with the exception of small arms, if you had line of sight you could shoot at anything from anywhere, which meant advances had to be carried out carefully to make the best use of terrain, or smoke,  or both. We were playing down the length of the table as well, which added further challenges, as we wouldn’t be able to hang back too much. Anyway, I was so engrossed in the game that I forgot to take very many photos, but here they are together with a couple from Tim.

The left flank of the Canadian start point. A troop of Sherman’s with a 6-pdr and armoured car.
The road headed straight for the town that was our main objective. Not a journey the tankers would relish.


On the left the leading Canadian Sherman edges forward. On the right the sleepy village which was our first objective.

Before tackling the village on our flank smoke was called down to screen our advance.


Our recce sped through the village, dodged several panzershrecks and stopped ready to spot stuff down the road into the town.
                               Our infantry took the town. An enemy platoon holding the buildings to their left had been silenced earlier.


Shermans advance over the railway line.
Falschirmjager anti tank team flushed out of this house.
A different view of the perhaps foolhardy Shermans.


The town was held by German armour. Some of this was neutralised but not before they’d knocked out two Shermans on the road.
The Canadians were taking a battering but serious losses had been inflicted on the enemy, including some their reinforcements that appeared by the monastery in the far distance.

That was the final turn as the weather turned into a downpour with only 18” visibility and limited movement. It was agreed to end the game. Losses had been more or less equal but the Germans still held two of the three objectives. No doubt they’d use the bad weather to slip away safe from pursuit.

It was a thoroughly enjoyable game, played in a very gentlemanly way. Much thanks must go to Tim, Barry and Togs for so kindly offering to make the trip up with the game. I know Conrad enjoyed the game as well. Of course I’m now thinking about setting my own 3D printer away on some terrain items…… and perhaps other stuff as well.


Wednesday 17 November 2021

Hastenbeck 1757 - Review

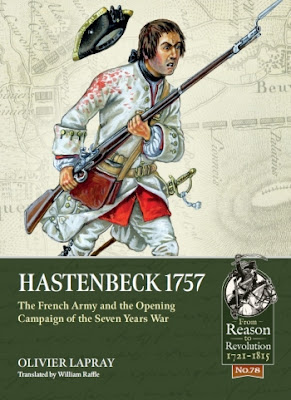
Hastenbeck 1757 is No.78 in Helion’s From Reason to Revolution series. Written by Olivier Lapray and translated by William Raffle it is an analysis of the French army and the opening campaign in the Western theatre of the Seven Years War.

In the east, Frederick of Prussia’s run of victories since Lobositz in October 1756 has only just been halted by his defeat at Prague the previous month. The battle of Hastenbeck on 26 July 1757 in Westphalia was a resounding French victory that almost knocked Hannover out of the war. This book focuses on the French army during this campaign, and does so in some detail. A short but useful introduction to the structure of the French army, it’s tactics and it’s shortcomings is closed by the sentence ‘Ultimately one could reasonably say that Marechal d’Estrees was….at the head of a large army but one that was not suited to pursue the war with energy’. Very true as there was much internal conflict between the army and the court/government that certainly muddied the waters operationally. The course of the campaign is described in detail, leading up to a fascinating account of the battle itself, which was a complex affair. There book contains a wealth of extracts from contemporary documents, which as ever bring the narrative to life, especially those referring to the battle itself.

The book is illustrated with some excellent black and white uniform prints and the centre pages contain a collection of colour illustrations, including several sumptuous originals by Patrice Courcelle. The narrative is also supported by a number of useful theatre maps as well as two of the battle itself showing the disposition of the troops involved. 

No less than eight appendices complete the book, which include detailed information on the orders of battle of the French Armee du Bas Rhin at the start of the campaign and at the battle itself, unit strengths, losses, and the composition of the massively outnumbered Allied army of Observation under the Duke of Cumberland. 

The French perspective was always going to be of great interest and this book does not disappoint. Well structured, it is a well-presented and detailed analysis of the battle and certainly a book that anyone interested in the Seven Years War should find useful.


Late Roman Campaign- the Battle of Corpiscanum

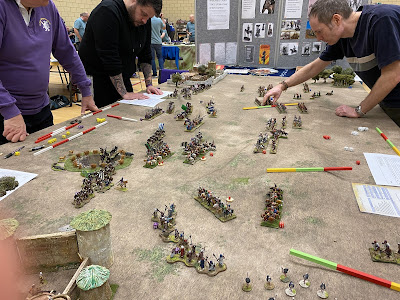
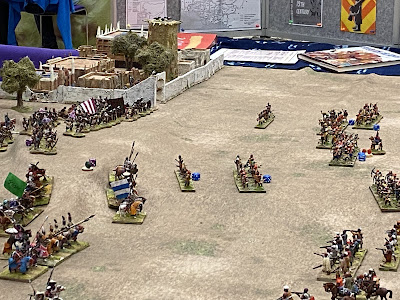
Well here it is, the first battle in our fictional Late Roman campaign. On Saturday the army of Sillius Soddus, Comes of Asienus Superior, attacked the Visigoths under their king, Wodewic, who had been laying siege to the town of Corpiscanum. Nigel is Sillius Soddus, and Paul and Dave had his back. Neil as Wodewic had Conrad and John on his side of the table. Both generals were free to chose their armies from the appropriate Army lists for Sword and Spear. (I’m not a lover of army lists, and there a things I don’t agree with in this set, but some flexibility has been allowed for this campaign). The Goths were outnumbered by 20 percent which going to make it interesting- I like slightly asymmetrical games. In total there were about 1800 points across both armies. 

As might be expected there are lots of photos. To make it easier to follow, and write, after a couple of introductory pictures I’ve split the narrative and accompanying photographs into (from the Roman pov) left wing, right wing and centre. More or less anyway.....

The Romans are on the right, the Visigoths the left.

In time honoured tradition the opposing commanders  engage in single combat armed only with  measuring devices! Nigel’s Roman one may have been longer but was more wobbly and needed two hands.
The other end of the Goth battle line. Conrad's forces were only facing light cavalry and a few light infantry to start with but he couldn't get his men to move.
The Roman centre advancing on the Goths.
Massed Roman artillery. Very effective while it had a target.
 behind them Nigel's reserve, four Legio Palatina. 

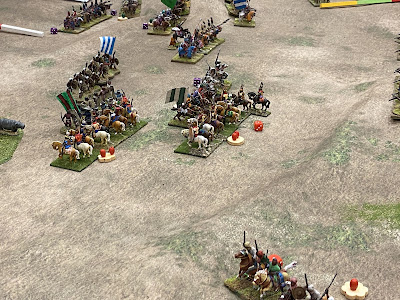
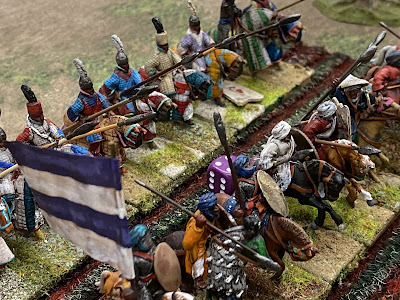
And now to events on the Roman left wing. Paul and John both advanced with their cavalry. It was a see-saw combat for most of the game but some unlucky dice rolls on Paul’s part resulted in all his cavalry, 2 units of cataphracts, three of heavy cavalry and one of light cavalry being destroyed or driven from the field and Paul’s commander was killed. The Goths took some heavy losses but by the end of the game were swinging round to attack the Roman centre from the flank. 


An example of the rubbish dice rolling on this wing!

In the centre the Visigoths had a mass of infantry (iirc about six or seven large units of warriors) facing ten Roman legions of varying quality. When the troops made contact with each other it was pretty brutal. The Visigoth infantry is a one-shot weapon really, and if they take losses before a melee they loose their ‘impact’ status which could otherwise make short work of whoever was facing them; even Romans. That’s where the Roman throwing weapons evened up the odds, but it was only Roman legions that were forced to retreat or were broken, the entire first line being swept away. The Visigoths hung on throughout the game and despite the best efforts of Dave in charge of the Roman centre they held grimly on, effectively pinning the enemy centre while the Roman flanks were both turned. The Roman war machines caused some early losses but were soon unable to see anything to shoot at. A potential breakthrough by the Romans, led by their valiant commander Sillius Soddus was broken up and Sillius was killed.

On the other flank the Visigoths were slow to move but made good progress when they did as they were initially only facing light cavalry and light infantry. Despite being harried mercilessly by Roman light cavalry the foot warriors and heavy cavalry managed to sweep round the flank of the Roman line, drawing off troops from the centre.

Well it was certainly not a game without excitement and a certain level of confusion. The Visigoths were outnumbered but thanks to some good fortune on their part and bad fortune on the part of the Romans they managed a quite convincing if almost Pyrrhic, victory.  As ever Sword and Spear proved well able to handle a large game such as this. There are two, if not three, battles to fight before this campaign turn can finish, the first of which will take place in a couple of weeks time.