Showing posts with label Sikh Wars. Show all posts

Tuesday, 1 July 2025

A Change of Continents - India 1846, the First Sikh War

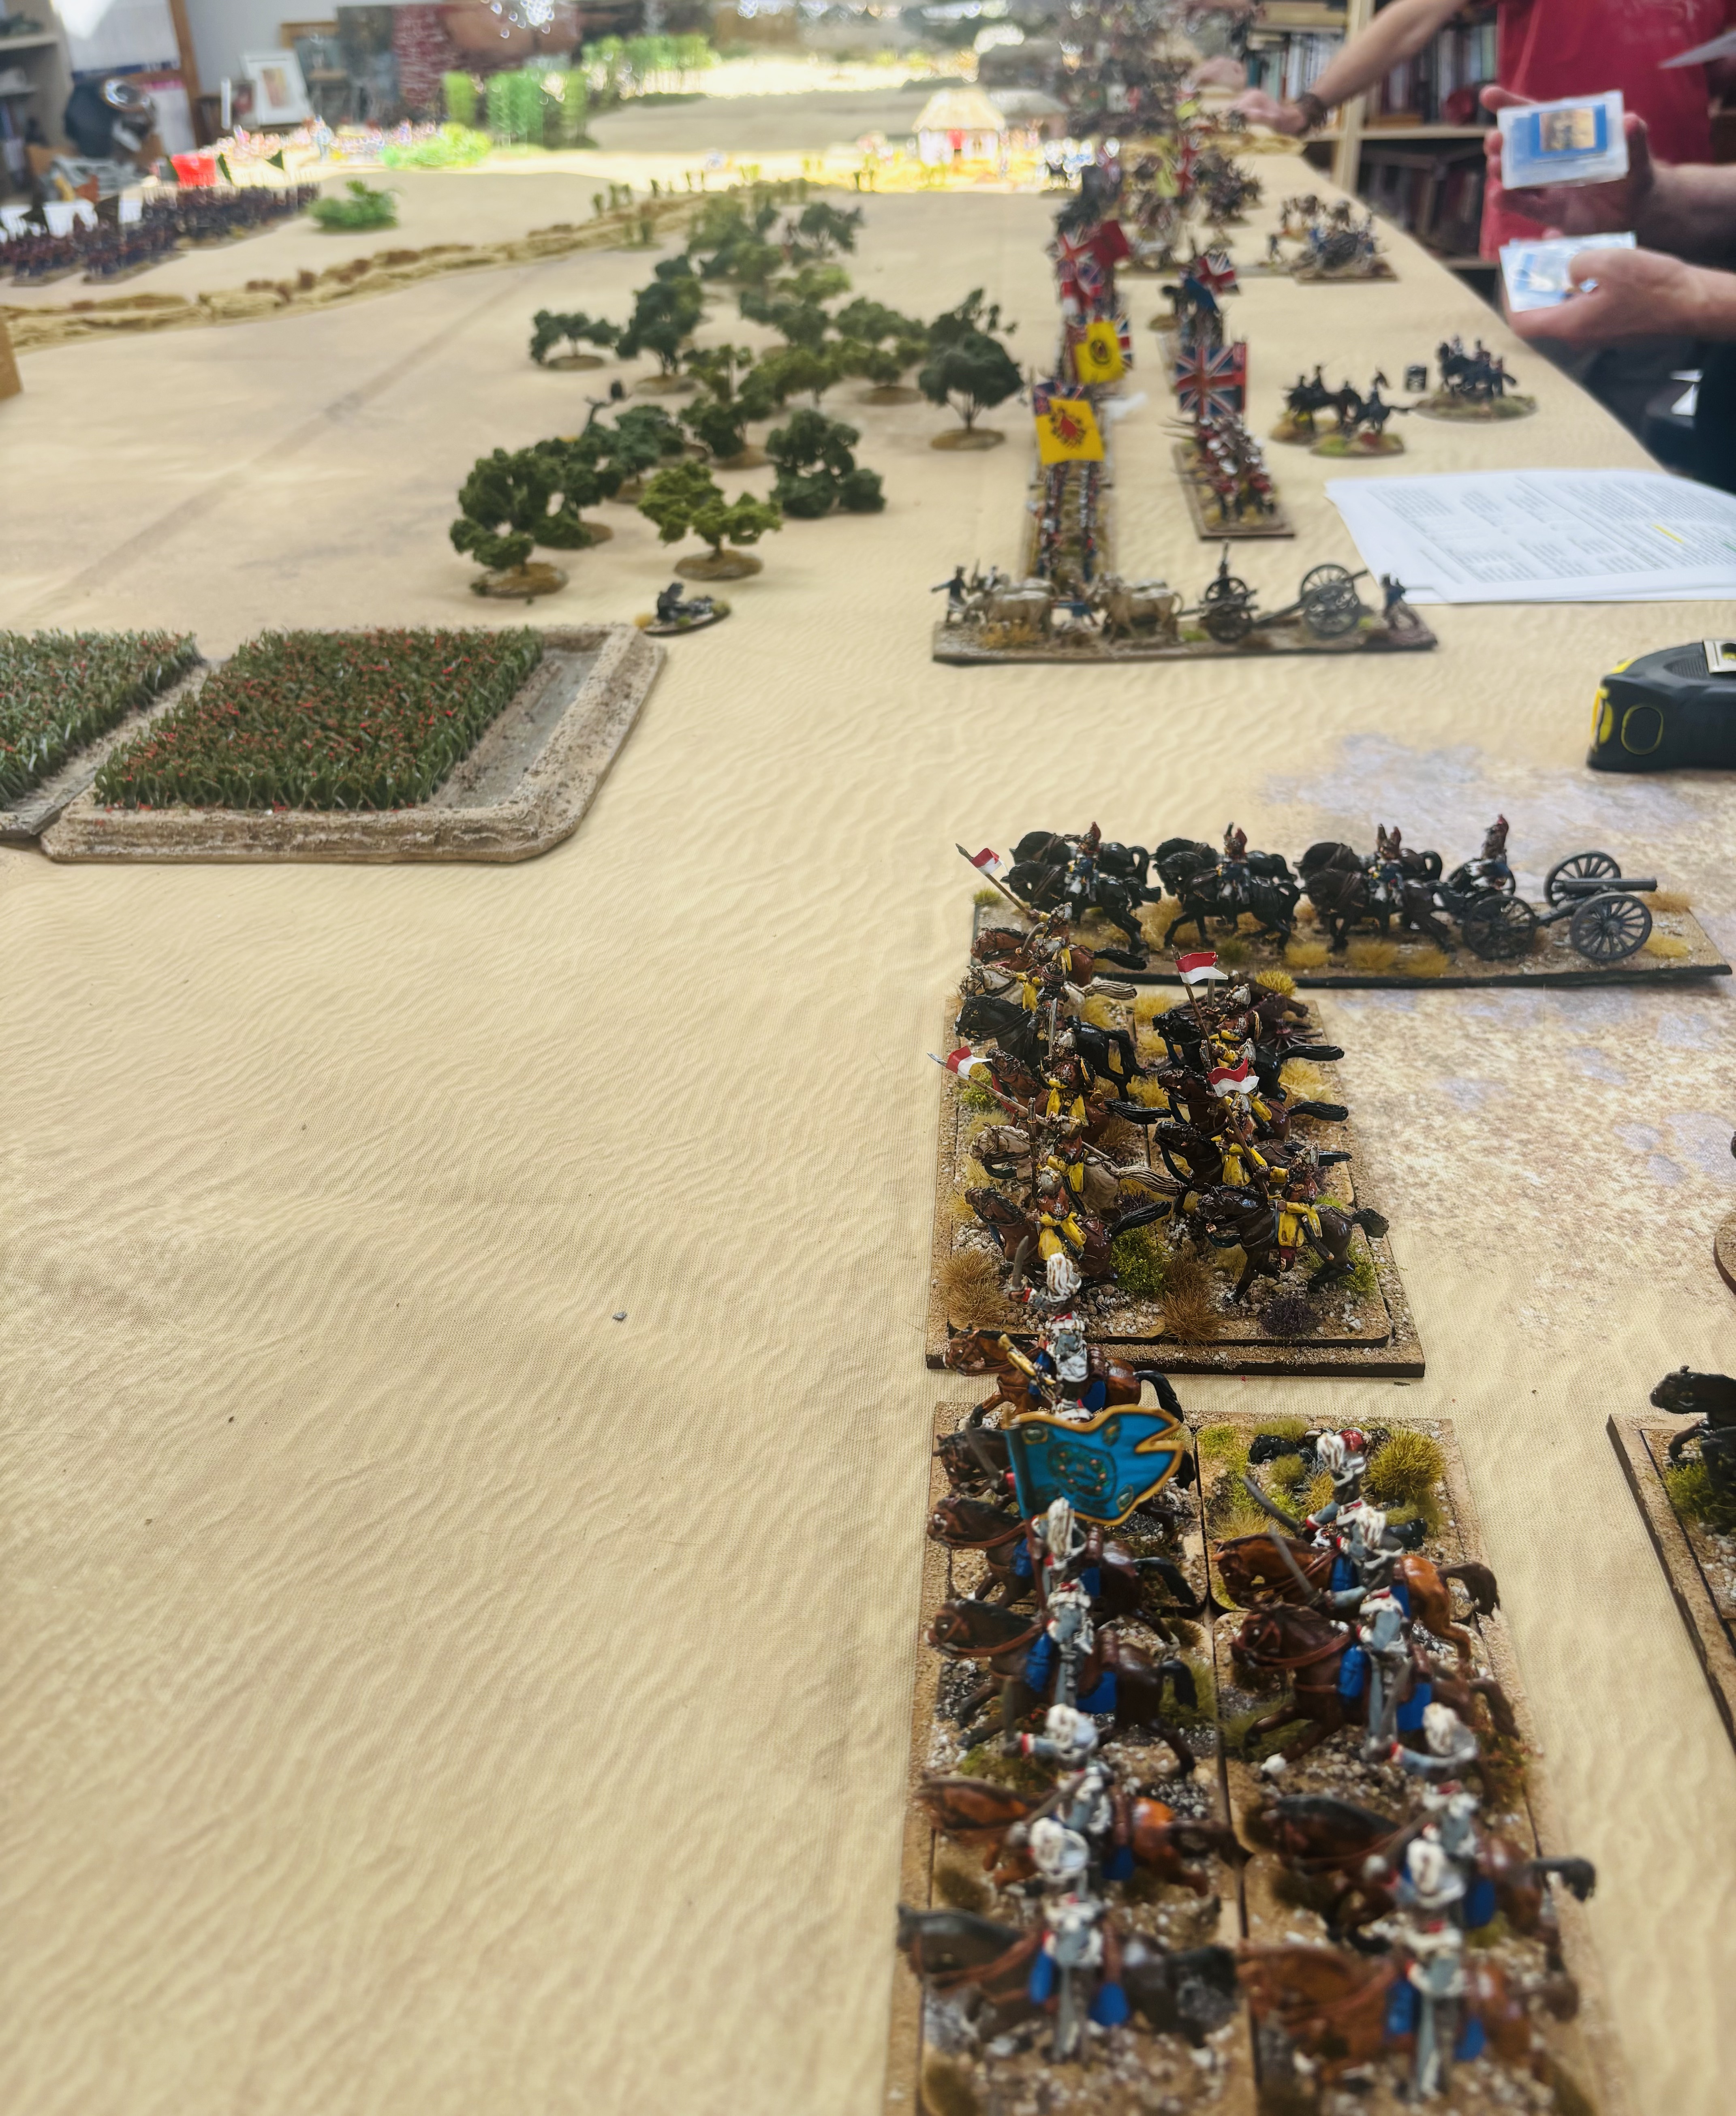
I had a few of the Burrowers over on Saturday to play a Sikh Wars game. I don’t think I’ve had these on the table for almost two, years which is a great sin; when setting the game up I was reminded how gorgeous the collection was - ok I am biased but it is striking and wish I could still paint that consistently well. Thank you Covid as this collection was born of the pandemic. I decided we should use Valour and Fortitude as there was a tested set of army sheets on the V&F Facebook page and I enjoyed the game last time when we were in a swampy Paraguay.

The British were following a withdrawing Sikh army. The latter chose to make a stand around a small town and behind a dried up nulla and a long stretch of jungle. For the British to win they had to break more than half of the Sikh brigades and capture the town.

John the Red and Nigel played the British while Richard and Jon were the Sikhs. The latter deployed with their Gorchara cavalry and camel guns split between each wing. One brigade of regulars held the centre, while a mass of irregular infantry were placed beside the cavalry on the Sikh left. A large mob of Akali filled the gap between the town and the cavalry on the right. The best Sikh infantry (the elite French-trained battalions) were held in reserve. Several batteries of guns were placed along the front. There was also a surprise waiting for the British as their scouting had been dreadful. Unseen by the British at the start was an emplaced battery of heavy guns immediately to the front of the town, which would only be placed on the table when it became possible to see it. 

The British also split their cavalry, one brigade on the right and the other on the left. The left brigade contained the only Queen’s regiment of cavalry. The four infantry brigades were spread across the entire front , two heading for the jungle, one towards the nulla and the other on the far right. They were supported by what artillery was available, namely a few troops of Bengal Horse Artillery, Bengal Foot Artillery and a battery of heavy guns accompanied by a rocket!

The battle began with a general advance along the British line, although the troops on the right were somewhat slow in getting into position. I’m not going to give a blow-by-blow account of the game, but hopefully readers may be able to make sense of the photos. 


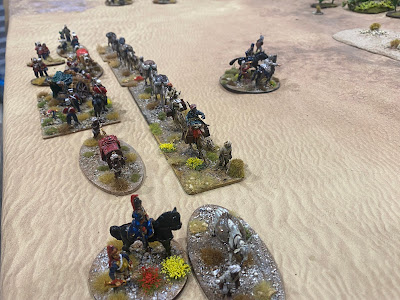
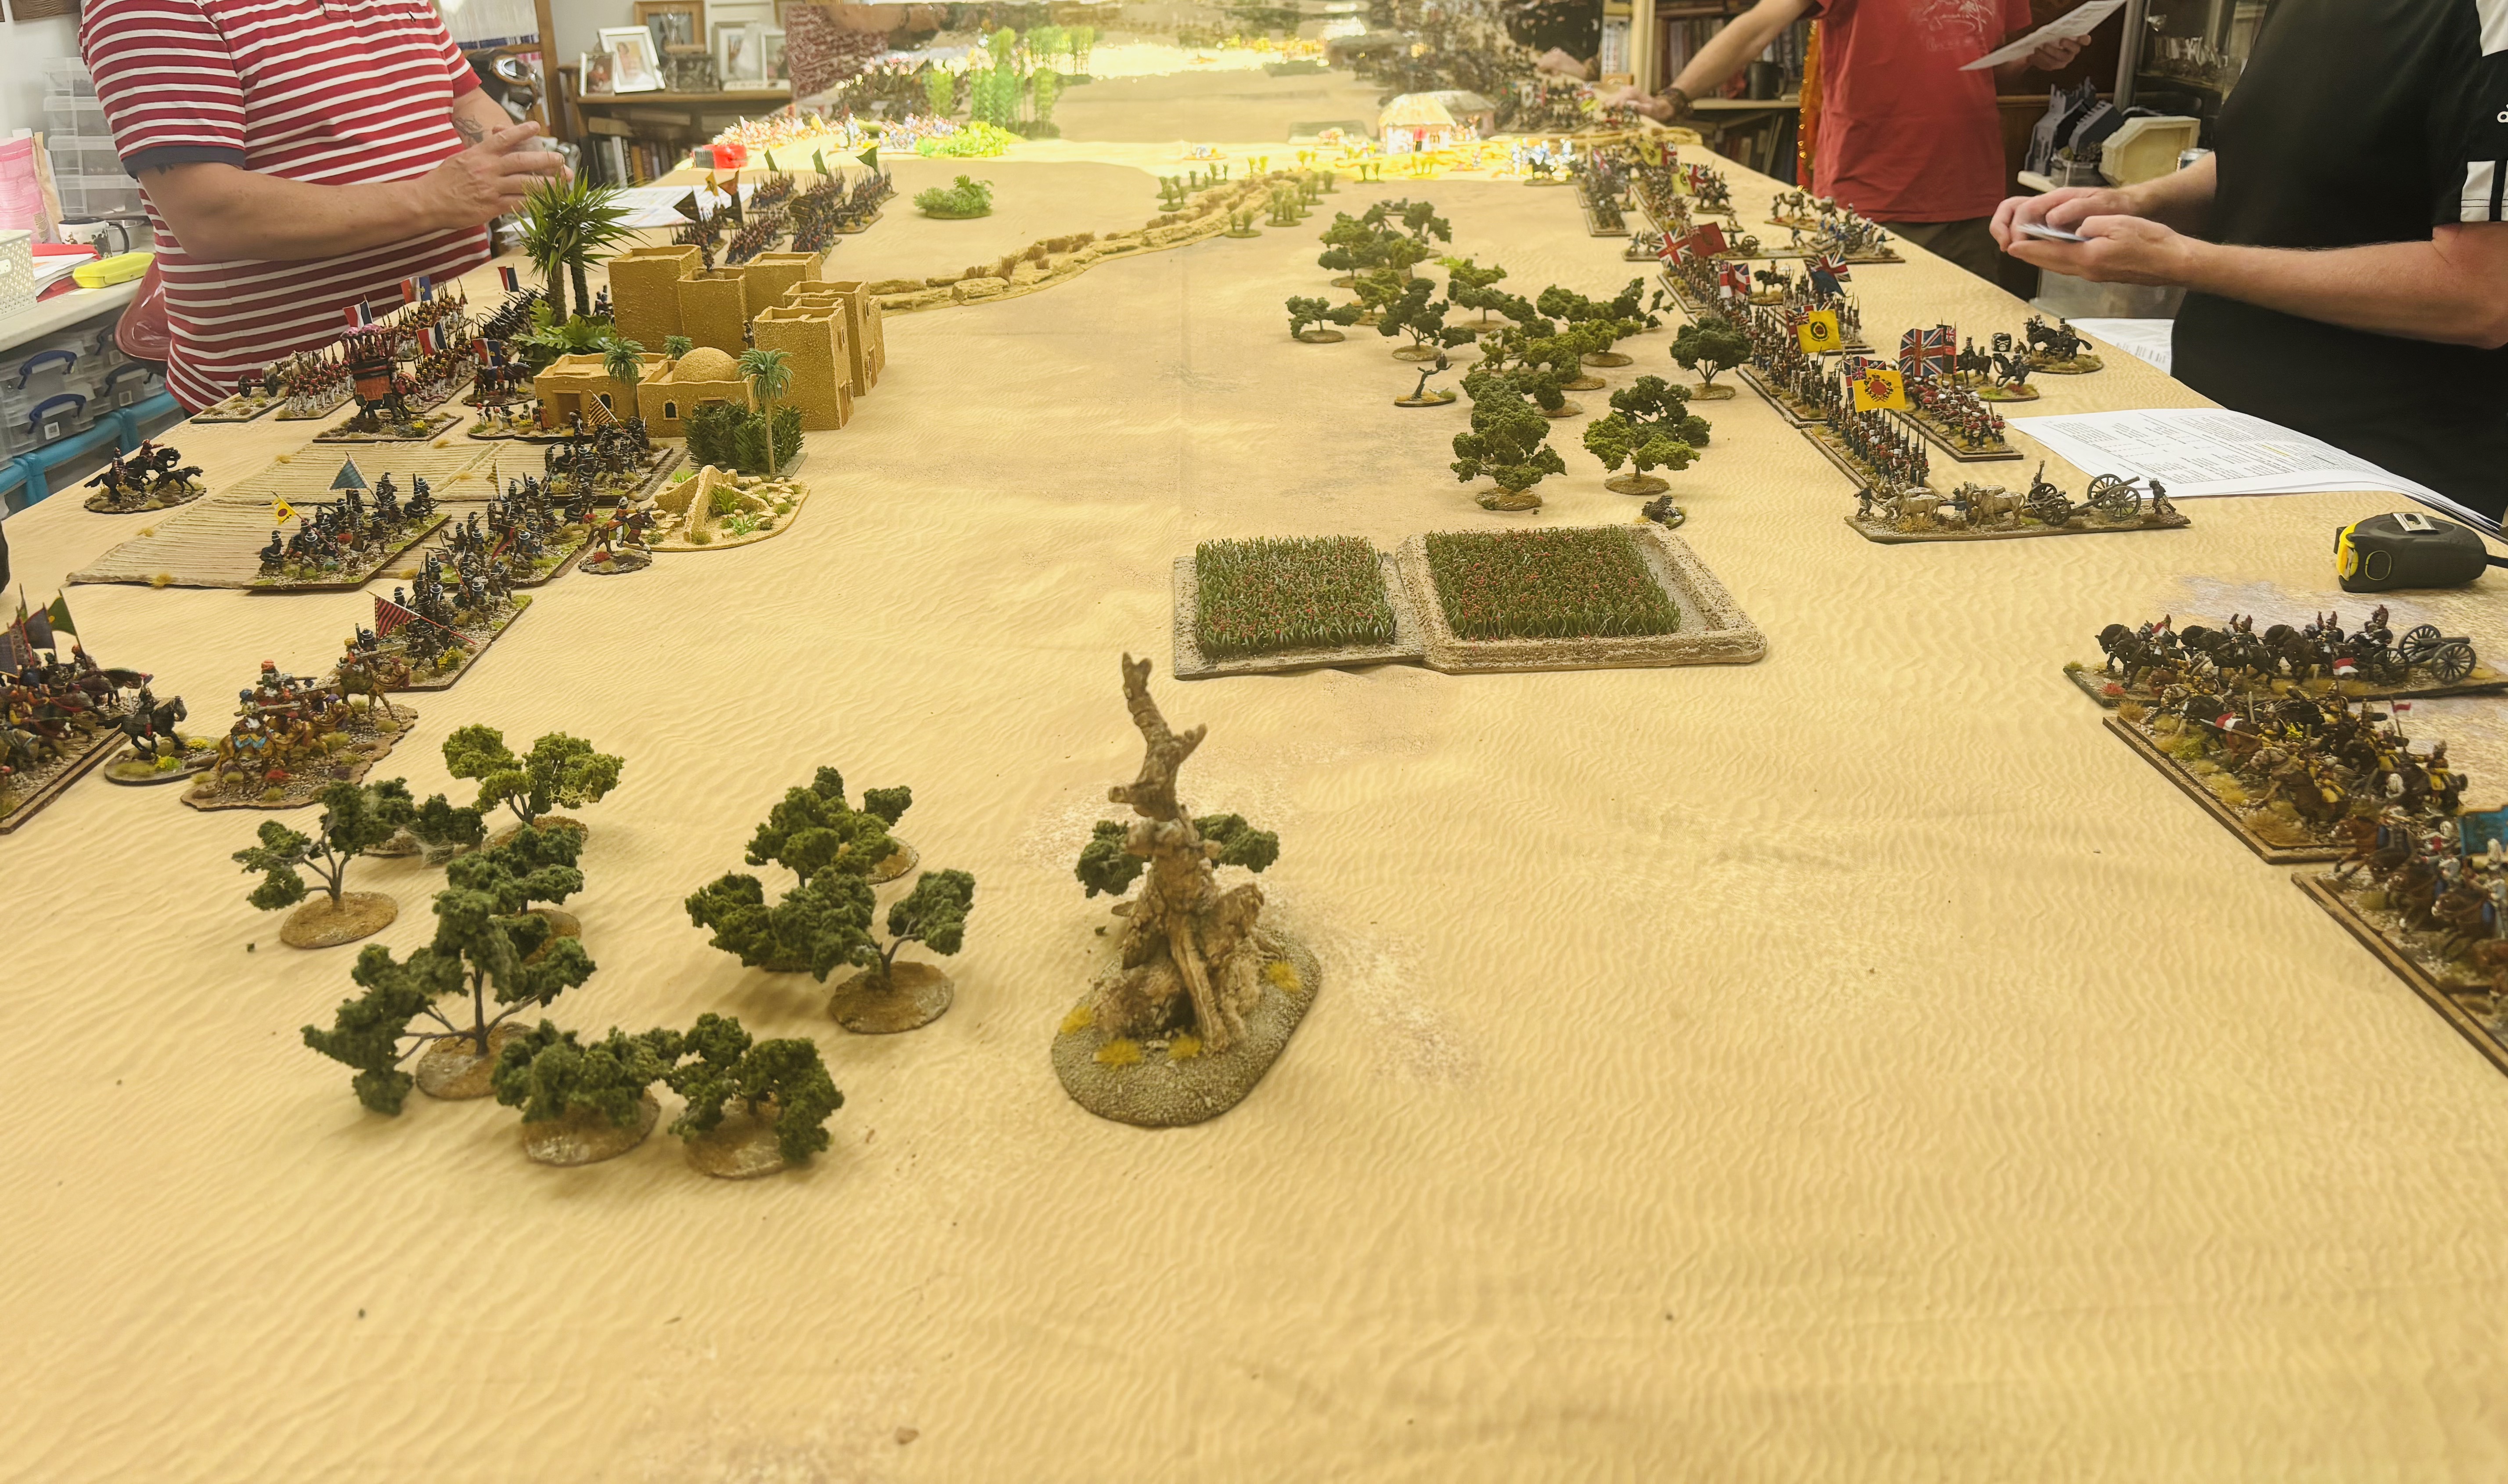
Sikhs on the left, British on the right

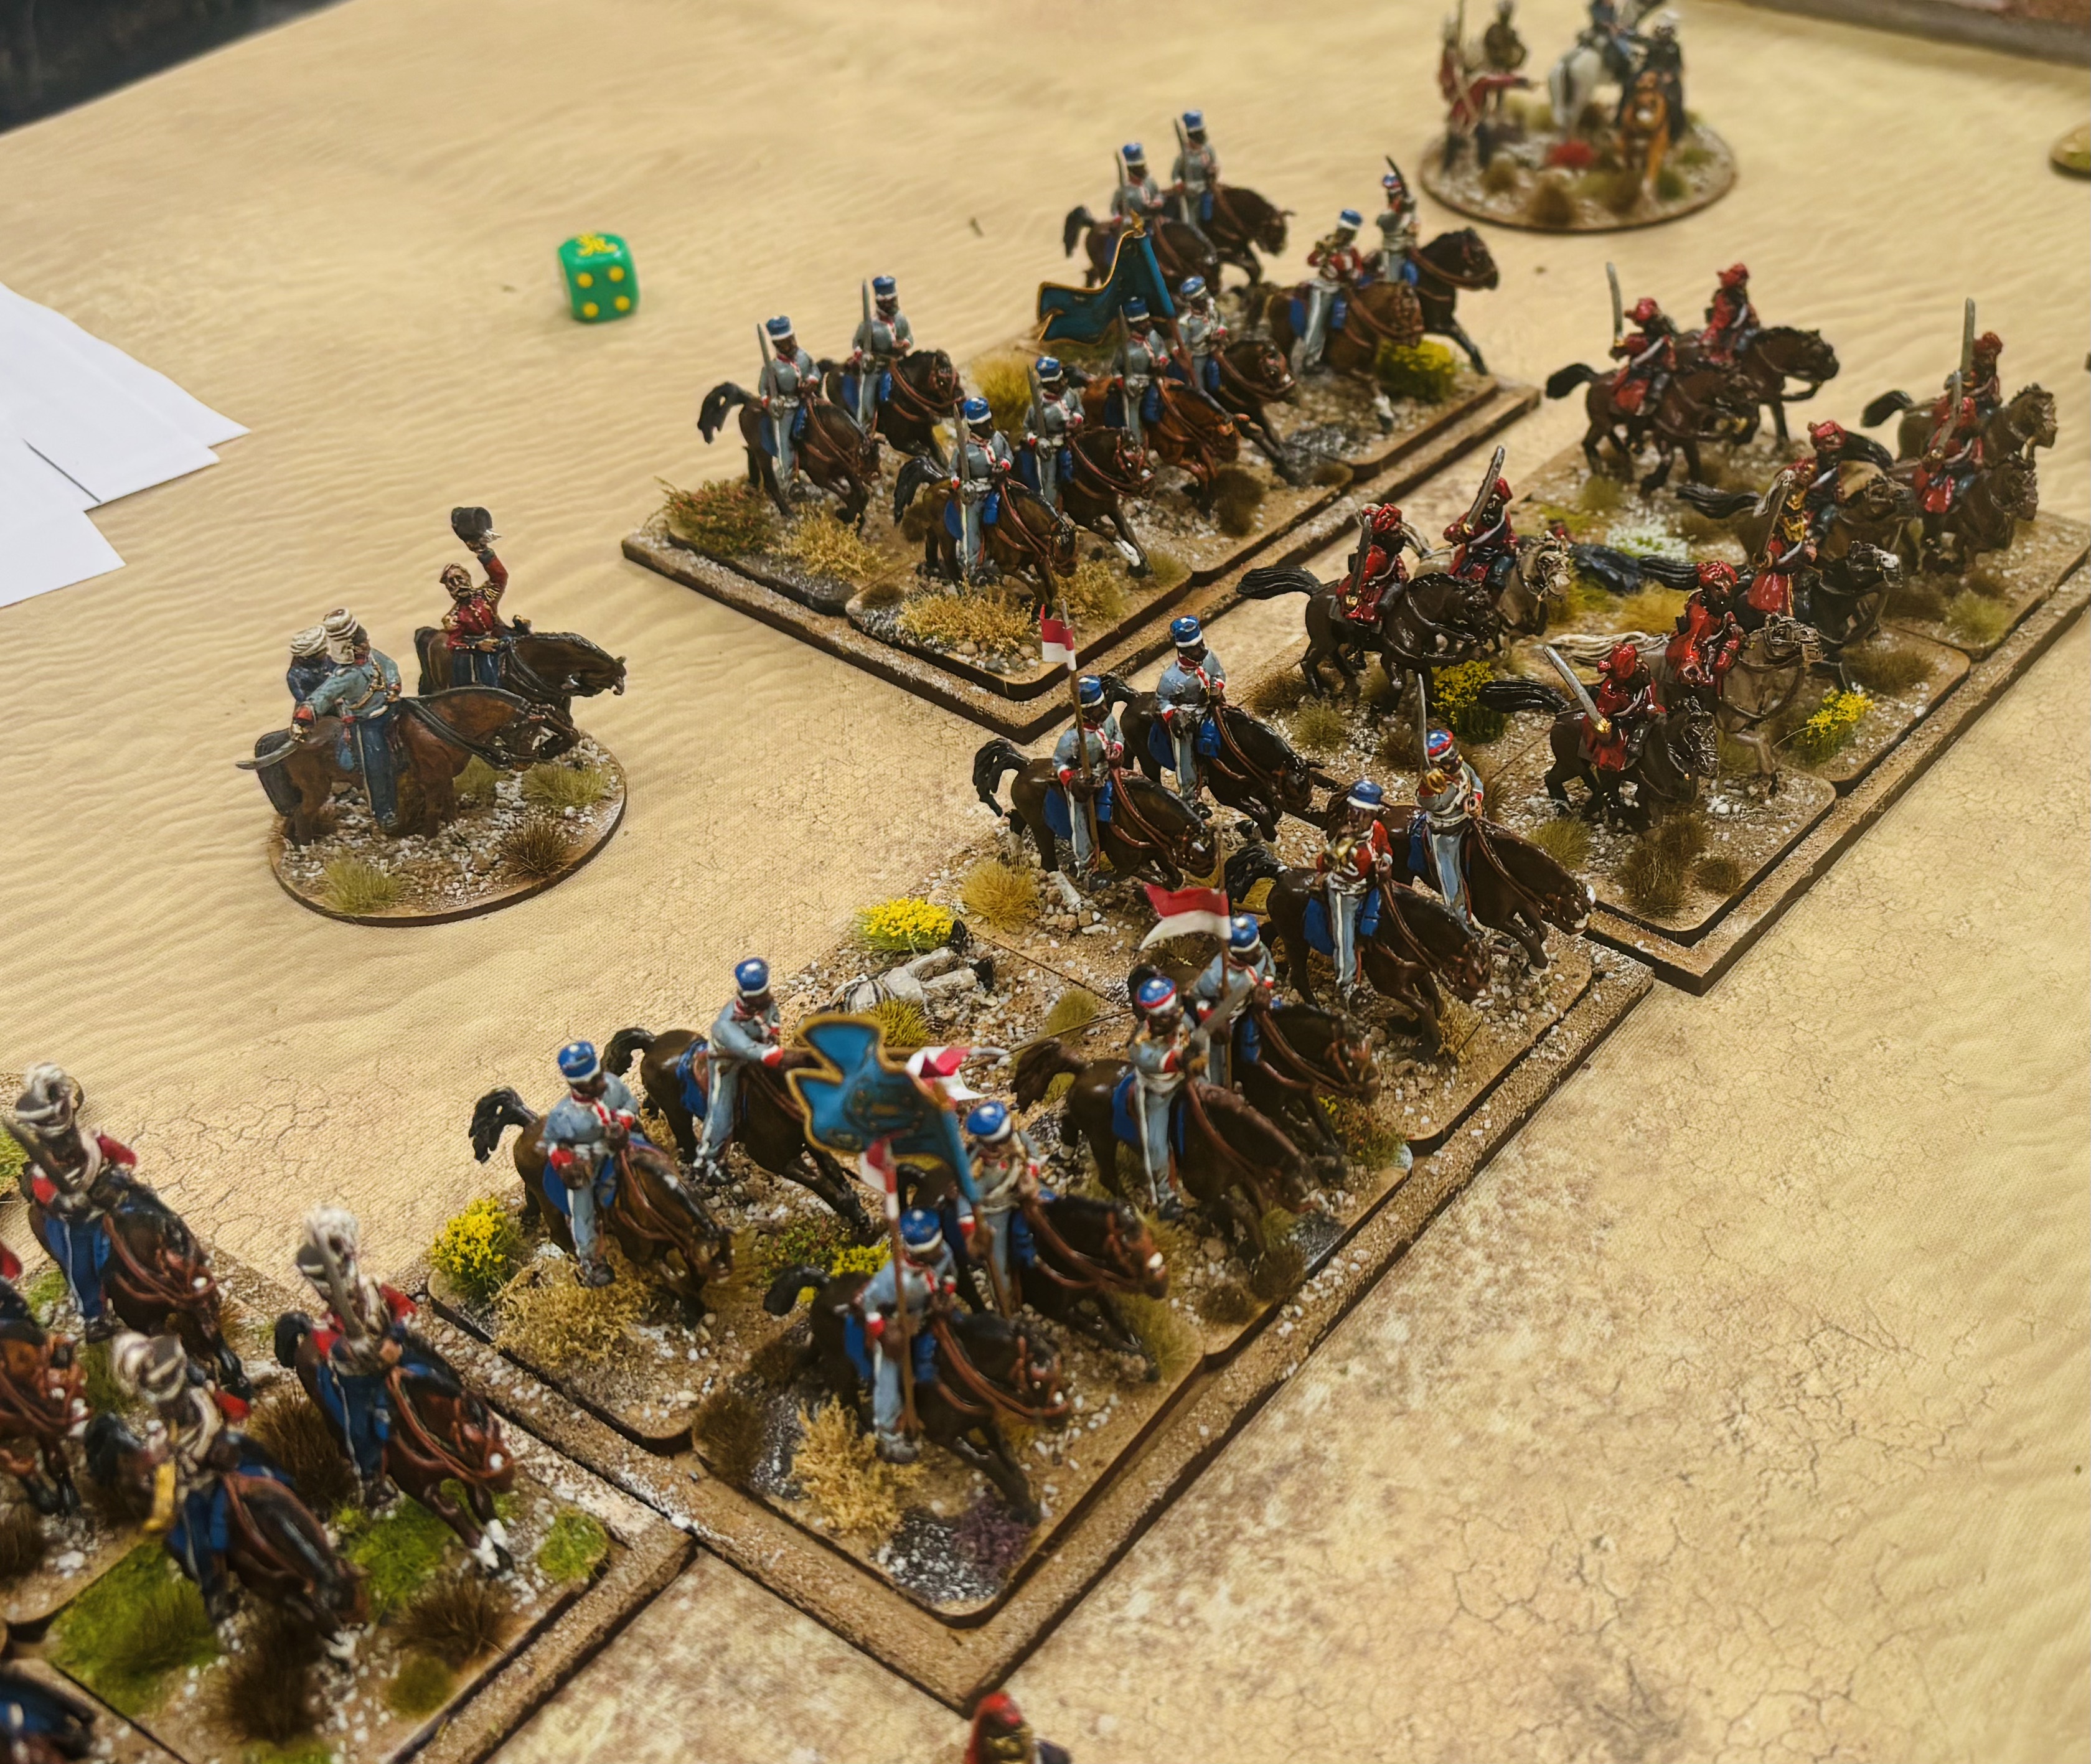
British cavalry brigade on their right. No European regiment, just the Governor General's Bodyguard, two regimenty of Bengal Light Cavalry and one of Bengal Irregular Cavalry, with a troop of Bengal Horse Artillery in support.

The Sikh centre. Six battaliopns of Khalsa with lots of guns.

The British left, with their other cavalry brigade, this time including European light dragoons (HM 4th) a regiment of BLC and the 2nd Bengal Irrrgular Cavalry.


Lurking behind the town were several battalions of elite (French-trained) Sikh infantry and more cannon.

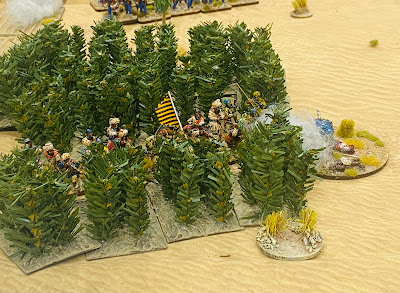
Nigel wisely lurked in the undergrowth for a little while rather than face three heavy Sikh cannon.


The cavalry on the British right were soon in action, getting the better of  hoards of Sikh Gorchara cavalry.

The biggest threat to the British centre was in theory four units of Akali irregular and fanatical infantry. Richard couldn't get them to move for a coiuple of turns. 

Bengal Horse Artillery about to bombard the Akali.

There was also a fierce cavalry fight on the British left.  This is the second stage of the combat as HM 4th Light Dragoons had already defeated one enemy unit and charged on into another. Ultimately the Sikh cavalry were disposed of, just as the Sikh reserves made their appearance from behind the town.

The nulla proved to be a help and a hindrance to both armies. Troops descending into the nulla could not be seen but their was no guarantee that they could see out without first climbing back up the other side.  At least that saved one Queen's battalion from the attention of Sikh artillery which was forced to target the Gurkha battalion to its rear.

Nigel's brigades launched an assault on the Sikh redoubt and captured it more easily than I had thought possible. Rules tweak required I think?

On the British right Jon and John launch their cavalry at each other, and ther Sikhs were able to catch and overrun a troop of artillery that was unable to get away. Most of the remaining Sikh horsemen were destroyed or driven back. 

The horse artillery were unable to prevent the Sikhs from overrunning their position.

With the Sikh cavalry now rendered ineffective the British cavalry made several fruitless attacks on the irregular infantry to their front. All were surprisingly beaten off, causing more than a little consternation. Jon kept throwing 6's when testing to see how 'unpredictable' his men were, resulting in their stats being bumped up. 

Even the British infantry brigade struggled against the irregulars, loosing one  battalion of Sepoys 
                                                                   
Zumi our Persian kitten inspecting the town. 

Finally the 'Avitables' .emerged from behind the town, 
                                             which was now in the hands of the British
The Akalis were anihilated.

The Sikhs tried to recapture the town but weree unable to gain a foothold.

So there ended a very close and exciting game. I declared it a British victory, just. The town was captured and much of the Sikh cavalry and the Akalis had been destroyed, as had several regular battalions ikn the centre. There was certainly a much bigger 'dead pile' behind the Sikh lines!

V&F worked well. There were a couple of amendments which certainly made a difference, insofar that Sikh artillery HAD to engage in counter-battery fire, and any losses taken by a European battalion could be shifted onto a sepoy battalion in the same brigade. I was surprised the Sikhs held back their best infantry until it was too late, and I don't think Jon's brigade in the centre needed to advance, as it put them at a disadvantage against the British hiding in the nulla. I could be wrong of course. I need to add a rule for Sikh artillery when defending their guns in melee, and I wonder if the tenacity of these big batteries should be increased.  

Anyway, it was an enjoyable game. Even the weather made it feel like we were in the Punjab. (Not really but it was very warm and humid).

I think I will try GdA II with the Sikhs next time. Not because I don't like V&F (which I do and are perfect for most big Saturday games here) but because I am curious. 

Right, back to Paraguay for a while as these ships won't paint themselves!


Monday, 4 December 2023

Khalsa! A Wargamer’s Guide to the Anglo- Sikh Wars

Next up in the excellent Helion Wargames series is Khalsa! This is a sumptuous and comprehensive guide to wargaming the Anglo-Sikh Wars of 1845-1846 and 1848-1849, by Andy Copestake and James Main.

The book follows the usual format of most of its predecessors in the series, with a fact-filled introduction to the period and events leading up to each conflict that sets the scene for what is to come. The battles of both wars are each covered in great depth, with useful orders of battle and tips on how one might play each scenario. None of these are dependent on a particular set of rules so it is left up to the reader, armed with the necessary information, to shape this to fit their preferred set. As well as the full-on battles such as Mudki, Sobraon, or Chillianwalla to name but three, there are also several more ‘fringe’ scenarios covering the exploits of a few brave European officers leading the troops of various factions against the Sikh regime. The maps that support each of the battles, and the more strategic ones that appear throughout the book, are excellent and provide clear representations of each combat.

We are also provided with a wealth of information regarding the organisation (or not) of the Sikh forces, the different troops available, tactics and weaponry, as well as a discussion on the Sikh ‘leadership’ and the backgrounds and influence of the many European adventurers who acted as military advisors and generals in the army, and who led their own ‘Compos’ or brigades until immediately prior to the outbreak of war, when most were murdered by their men or fled. Similarly, the organisation, leaders and weapons of the Honourable East India Company presidencies of Bengal and Bombay, including the Crown forces who were to bear the brunt of the fighting, are covered. The authors also provide useful information on the dress or uniforms worn by all participants, and for wargamers, James shows us how to paint your miniatures. There are also lists of manufacturers and other resources available, together with some sample ‘army lists’. Particularly helpful are suggestions on how to adapt your rules of choice to more accurately reflect the weapons and tactics used during the wars.

The illustrations in this book are superb; as well as a number of contemporary images there are a vast number of gloriously colourful photographs of painted Wargames miniatures, not only from the author’s collection but also a good number featuring miniatures of my extensive collection.

It goes without saying that in my opinion this book sets the bar even higher for this series, which is quite an achievement. It is well written and researched, and is the product of a genuine understanding of the period by Andy. If you have any interest in this key period of Anglo-Indian history then this is a fabulous book, a veritable ‘one stop shop’ for wargamers and those interested in the fascinating history of British expansion across India, you should buy it.

 ISBN978-1804514900 182 pages, paper back.

Monday, 18 September 2023

The Battle of Mudkiwalla, a fictional Sikh Wars battle using General d’Armee

I say fictional in the title but the scenario is a nightmare one for the British, as it is loosely based on Mudki and Chillianwalla, both of which featured annoying jungle. 

The British under Gough are preparing to make camp for the evening when they are surprised by the Sikhs lurking in positions behind the low lying jungly bits so were hard to see in terms of numbers although the Sikh artillery on a commanding rise was visible and had a reasonably effective field of fire.

The Sikh army is under the joint command of Lal Singh and Taj Singh. BOTH have different objectives. Lal Singh’s army is deployed on the table. Tej Singh and his men will arrive at some point. They never  did.

Paul, Dave and Richard played the Sikhs, while John the Red, Shaun, Jim and Neil were the British. Neil also helped run the game at his end of the table while I did the same from my end. Nearly 14 feet is a long way.

I had told the Sikhs that one of them would secretly be harbouring treacherous thoughts and his aim was to loose, but as covertly as possible to avoid being murdered by his troops. (By this I mean that their actions, by omission or commission would be judged by me. Seemed fair……’ish). They were each given a card, thinking that whoever drew the one marked ‘treachery’ would play this role and keep it secret from the others. What they didn’t know was that they ALL had treachery written on them! (Evil laughter).

Both sides were told they could expect reinforcements and to cement this lie I had the figures laid out on the back shelves ready to use when the time came, which it never did of course.

So here we go for another gloriously colourful and what was hopefully enjoyable game. I enjoyed it immensely as these armies are perhaps my favourites, or at least equal favourite with my 1672 collection.
The Lion of the Punjab before the battle. Ok, my cat Tabitha the Destroyer aka Catzilla before being removed from the table and banned from the Burrow for the day.

The British (on the right) survey the field of battle.

The Sikhs had deployed all their cavalry on the left, leaving the right held by regular and irregular infantry and a large battery of 18-per guns.

The battlefield. Note the refused left flank on the British side.

The incredibly annoying jungly bits. There were penalties for moving through it, which were randomly decided each time a unit wished to enter or move through the jungle. These ranged from halting, diverting left or right, finding a clearing and moving a full move and so forth.

Sikh irregulars moved through the village on their extreme right.

Paul advanced his regulars towards the jungle, supported by more irregular battalions.

Entrenched Sikh cannon in their centre. It was really just an excuse to put my big redoubt on the table. Sadly for the Sikhs the artillery ended up being ‘hesitant’ more often than they weren’t, which meant their firing was not as effective as it might have been.

Jim commanded the British left. His lone cavalry brigade spent much of the game dodging fire from Paul’s battery of heavy guns facing them.

On the other flank the British had formed a grand battery of sorts with the objective of discouraging the hoards of Sikh cavalry from advancing.

Sikhs of the Francese  Compo, their best infantry, advancing towards the jungle.

Jim’s much outnumbered command on the British left begins its advance.

Jim’s infantry advancing with a plum, er I mean aplomb. He was trying to get into the comparative safety of the jungle as his battalions were taking fire from the Sikh heavy artillery on the hill.

The British right, facing a growing number of Sikh Gorchara horsemen. The latter were hit heavily by the British artillery. One of the two Gorcharra ‘brigades’ faltered but survived the test.

These zambureks were to prove to be the bane of the British cavalry. Time and time again Richard threw ridiculously high whenever they fired, with deadly results for more than one British cavalry regiment. They were worthy winners of the Man of the Match Award.

Waiting for us dinners!

Shaun advanced through the jungle with two brigades of infantry. Moving through it resulted in the battalions becoming separated and unformed. In one case the 2nd Bengal European Light Infantry found a clearing so had to move at full speed so they lost touch with the rest of the brigade. They were charged by the Sikh regular infantry and Akhalis and had they not been European would have been routed and dispersed. I have a house rule that allows European troops to avoid such a fate once in the game, so they retreated a full move instead, with heavy casualties. As it turned out, it was a touch of out of the frying pan into the fire, as they were hit hard by the Sikh heavy guns as they emerged from the jungle and this time they were dispersed. 

The battle for the jungle in full swing. It proved hard going for the British, who struggled to avoid becoming hesitant due to a poorly timed lack of ADCs, and to maintain a coordinated line. 

Richard was awarded a nice gong in recognition of his heroic zambureks and the performance of his horsemen who stopped any breakthrough by the British cavalry on that flank.

Gorchara and Bengal Irregular Cavalry, supported by Bengal Light Cavalry,  hard at on the Sikh left. 

Redcoats in the jungle…ah yes. I didn’t say that one of the consequences of moving through the jungle was the chance of a ‘blue-on-blue’ accident! It happened a couple of times much to my amusement.

Heroic Bengal Horse Artillery, one five troops in action.

Richard’s heroic zambureks. They halted a charge from HM 3rd Light Dragoons and played merry hell with several other cavalry regiments.

Over on the British left, Jim’s cavalry were edging forward onto the flank of Paul’s advancing Khalsa, ready to charge, which is just what the BengalLight Cavalry did.

The BLC rode down the Sikhs they’d hit in the flank before they could form square, or triangle as was the habit of the Sikhs, certainly at Aliwal. Despite being fired on as thy rode past the Sikh infantry, they hit another Sikh unit, forcing it to retreat, and were poised to ride on towards another.

Jim’s infantry brigade made it into the relative safety of the jungle and advanced on the Sikhs. In a furious exchange of musketry then a spirited bayonet charge the two leading battalions (both Queen’s regiments) destroyed their opponents and caused the enemy to falter.

Destiny was not on the side of this British commander who was hit by a shell and killed. He was the leader of one of the two brigades slugging it out at Shaun’s end of the jungle which was not helpful to say the least!

Paul’s heavy artillery battery on the Sikh right.

The cavalry melee on the Sikh left went on and on as more units were thrown into the scrummage.

The Governor General’s Boddyguard followed by the 4th Bengal Native Cavalry (Lsncers)


The Sikh right showing the large hole punched into their line by the British cavalry and the attack by Jim’s infantry through the jungle.


Yours truly surveying the battlefield.

To all intents and purposes the game was over as the Sikh army had lost half of its brigades faltering or dispersed. 

These photos are out of sequence but have been left in just to help show the course of the game.


Those damned zambureks again! This time they caused the Governor General's Bodyguard to retire.


Some of the British baggage train.

These Sikh irregular infantry managed to hide in the sugar cane field for the entire game.

So, it was a cracker of a game and the amendments to General d’Armee worked really well. I know that more than one of the guys was not a fan of the rules but most were familiar with the mechanics having played many Pickets Charge games at the Durham club over recent weeks. I think the balance is just about right now. The Sikhs can win, but probably won’t, although they will inflect heavy losses on the British which could tip the balance their way given time. I thought the jungle rules also added fun, for me at least, as the British were quite timid when it came to pushing through the jungle. It was open enough for cavalry and artillery to pass through with care and a fair wind but caution probably well deserved, ruled on the day.

I’ve recently had sight of Andy Copestake’s forthcoming Wargaming Guide to the Sikh Wars, which together with my recent trips to India fuelled my enthusiasm to get these chaps on the table. Next time we shall shift up or down in periods but not sure which way yet.

Here are the orders of battle should anyone be interested.

BRITISH ARMY OF THE NOSOSUTLEJ (PART): General Sir Hugh Gough


Cavalry Bde: Lt. Colonel Harriett

3rd Bengal Irregular Cavalry (battle cavalry, veteran)

8th Bengal Light Cavalry (campaign cavalry, line)


Cavalry Bde: Brigadier Gough 

Governor General’s Bodyguard (battle cavalry, line)

5th Bengal Light Cavalry (campaign cavalry, line)


Cavalry Bde: Lt. Colonel White

HM 3rd Light Dragoons (heavy cavalry, elite)

4th Bengal Light Cavalry (Lancers), (campaign cavalry, line)

4th Bengal Irregular Cavalry (battle cavalry, veteran)

Troop BHA (6-pdr horse artillery, elite) 


Artillery: Acting Brigadier Brooke

2 batteries BFA (medium) (9-pdr foot artillery, veteran)

1 battery BFA (heavy howitzers) (12-pdr foot artillery, veteran)

1 battery BFA (rockets) (Rockets, veteran)


1st Division: Maj-Gen Sir Harry Smith


Brigadier Ryan

HM 50th Foot (line infantry, veteran)

33rd & 54th Bengal Native Infantry (BNI) (line infantry, ‘line’)


Brigadier Hicks 

HM 31st Foot (line infantry, veteran)

31st & 345th BNI, (line infantry, ‘line’)

1st Bengal Local Btn (Goorkhas), (line infantry, veteran)

Troop BHA (6-pdr horse artillery, elite) 


2nd Division: Maj-Gen Walter Gilbert 


Brigadier McLaren: 

2nd Bengal European Light Infantry (line infantry, veteran)

16th Bengal Grenadiers (line infantry, ‘line’)

2nd BNI (line infantry, ‘line’)


Brigadier Taylor: 

HM 29th & 80th Foot, (line infantry, veteran)

26th BNI, (line infantry, ‘line’)

Troop BHA (horse artillery, elite) 


Reinforcements......


3rd Division (part): Brigadier Wallace

HM 60th Rifles (light infantry, rifles, veteran)

HM 9th Foot (line infantry, veteran)

5th BNI and 12th BNI (line infantry, ‘line’)


Cavalry Brigade: Colonel McDowell

HM 16th Lancers (heavy cavalry, veteran)

2nd Bengal Irregular Cavalry (battle cavalry, veteran)

9th Bengal Light Cavalry (campaign cavalry, line)

Troop Bengal Horse Artillery (6-pdr horse artillery, elite) 

 KHALSA:

 Commander in Chief: Lal Singh


Artillery:  

2 heavy batteries (cannot move once deployed) (12-pdr, elite*)

1 medium battery (9-pdr, elite*)

(*Not for shooting)


Cavalry #1:

4 Feudal Gorcharra cavalry (campaign cavalry, line)

1 Zambarek camel guns (recruit, class as 3-pdr)


Cavalry #2:

3 Feudal Gorcharra cavalry (campaign cavalry, line)

1 Akhali cavalry (campaign cavalry, veteran)

2 Zambarek camel guns (recruit, class as 3-pdr)


Akali:

4 Akali (‘line infantry’, veteran)


‘Guard’ Infantry Bde:

4 Fauj-i-khas btn (line infantry, elite)


Infantry Bde (Orange):

3 regular btn (line infantry, line)


Infantry Bde (‘irregular’ Faus-i-Ain):

6 ‘irregular’ infantry btn (‘line infantry’, recruit)


KALSA 'REINFORCEMENTS':


Commander: Tej Singh


Cavalry Brigade:

2 cuirassiers (campaign cavalry, line)

2 lancers (campaign cavalry, line)


Infantry Bde (Red): 

3 regular btn (line infantry, line)


Infantry Bde (Black): 

3 regular btn (line infantry, line)

2 medium batteries (9-pdr, elite*)


*Not for shooting


And here are the rule amendments:

Terrain & Other Stuff

Sugar Cane Field:

Impassable to artillery and cavalry.

Infantry half speed and become unformed.

Visibility negligible.

Ploughed Fields and Poppy Field:

Not an obstacle.

Jungly bits:

The entire area covered in the jungly bits is low, scrubby jungle, not thick but dense enough to slow movement and reduce visibility. Artillery and cavalry move at half speed and become unformed. Infantry move at half speed and remain formed.

Visibility in the jungle is 2” unless there a clearing when it increases to 6”.

Artillery on higher ground can shoot anywhere into the jungle, on the long range row, and target classed as under cover.

However:

As it getting dark all troops moving through the jungle run the risk of straying off course. Throw 2D6 and add them up. Test for each unit every turn.

2

Must halt for the full turn. Totally disoriented.

3,4

Continue but wonder off, 1-3 45 degrees right , 4-6 45 degrees left.

5

Clearing. Full move permitted.

6,7,8,9

OK 

10

Clearing. Full move permitted.

11

Friendly fire. Unit spots a body of troops in a clearing and moves to open fire on closest friendly unit in a 180 degree forward arc. Any casualties caused are real.

12

As above but unit takes friendly fire from 1-3 artillery, 4-6 musketry.

Villages:

Would hold one infantry unit should anyone be daft enough to want to garrison them.


General d’Armee - Sikh War Amendments 

ADCs: Sikhs require 4+ to activate an ADC;

Brigade Activation: Sikhs need 4+ otherwise the brigade is hesitant;

No change to initiative test as the Sikhs are already penalised as above.


Sikh Artillery: To reflect the fact that Sikh gunners never ran and always fought their guns to the death if attacked, if a battery is part of an infantry brigade which has to withdraw or disperse, the gunners ignore this and stand by or under  their guns. If a brigade is wholly artillery ignore normal discipline tests and faltering brigade test results. Any result requiring them to retire, retreat or rout (sauve qui peut) is ignored and the gunners stand. In BOTH cases any casualties inflicted as part of the the DT/faltering test are doubled. Essentially the only way to get rid of Sikh guns is to cause enough casualties to force them to disperse/die. None of this applies to Zambureks.


Zambureks can be fired mounted but count as moving and unformed. They are treated as very light guns with a range of 18”;

Deployed zambureks fire as light guns with a range of 18”


European troops part of a brigade failing a Faltering Brigade Test with a sauve qui peut result instead will retreat. European troops also ignore their first sauve qui peut result, retreating instead.


Fear of Sikhs. BNI  and BNC were often quite timid. If charged by Sikhs class them as if they are recruits when working out the charge prior to contact;

Changing Formation. Regular Sikh troops’ manoeuvres were ponderous so all take a full move to carry out, as indeed do irregular units in the unlikely event they wish to change formation.


Akhalis can shoot with their matchlocks (12” range).Treat each base as a skirmish stand, hitting on 5+


Gorchara can also use firearms, even to receive a charge at the halt. If they have to receive a charge at the halt due to a charge test then they may shoot. Treat each base as a skirmish stand, requiring 5+ to hit. They cannot shoot and charge however.


Sikh irregular infantry with matchlocks with a range of 12”. They may not move and fire in the same turn.


Shooting: The difference in the effectiveness of musketry was very apparent as all the Queen’s and HEIC troops were armed with percussion muskets as opposed to flintlocks with which the Sikhs were equipped. To reflect this Sikhs always shoot on the inferior volley table;Troops with percussion muskets/rifles get an extra CD when firing ( which we forgot about).


Sikh irregular infantry, Gorchara and Akhalis may be in a looser formation but are not classed as skirmishers or unformed unless terrain or other outcomes cause it.