Wednesday, 14 September 2022

6th Btn Durham Light Infantry, May 1940

At last, to accompany the 1st Army Tank Bde featured in an earlier post, 6 DLI, part of 50 (Northumbrian) Division. The figures are a mixture of Early War Minis, some SHQ I think and the odd plastic chappie thrown in. The carrier is from PSC.

Carrier Platoon, with Boys ATR.

Battalion HQ, ATR and a 2” mortar.

The full unit, with mortar and carrier platoons.

These were quite easy and fast to finish. I’ve organised them as per Rapid Fire but they’ll do for pretty much any other set, such as Iron Cross.

 I’m happy with them although they’d win no prizes anywhere. Now on to 8 DLI and some basing.

Monday, 12 September 2022

Border Reiver Gateshead


More Mayhem on the Helder - Same Battle but Different Rules

Paul and Conrad offered to come down for a game today (Tuesday 6 Sept) so I ran a very slightly modified (just the orders of battle) version of last week’s game, plus we’re were going to use Paul’s own set of rules for a change. It would be interesting to see if a changes in rules impacted on the outcome of the game.

I played the French while Conrad was the Anglo-Russian commander, a certain Duke of York.

The battlefield. French on the right.
The Russians on the Allied left ready to advance against my left, which was held by cavalry and a lone horse battery. 
The British Footguards just marched forward into the teeth of a hail of musketry  and cannon fire, just soaking up the punishment without pausing.

On the French right all my cavalry was facing the bulk of the Russian contingent which was happy to  attract my attention so I ended up being unable to redeploy my superior numbers of cavalry elsewhere.
The afrench centre poised to take on the Guards.

My left wing advanced almost unopposed as there were no Allied troops between the roads and the sea. I was able to swing round onto the flank of the British, driving off a battery and some light dragoons in the process.

Russian infantry in square on the right. I launched several charges against them but  even when the squares were disordered my dragoons either refused to charge or bounced off. Fair do I guess.

One of Conrad’s battalions of flank companies charged a French light battalion, driving it back.

Back on the right/centre my other cavalry brigade had more success in attacking the Russian infantry, breaking g one battalion and bundling the entire division backwards.

Solid Russian columns advance.

A French counter attack in the centre had a moment of success as it drove back the Guards, but eventually the advance was bogged down and halted. Bum! (in French)

The large Russian battery thankfully did little damage to my cavalry and was  to spend several turns going backwards and forwards due to morale checks.

A flank attack on the Guards. It still failed to break them.


I think it’s fair to say that the French centre was crushed albeit at a terrible price to the Guards. Our right had made some progress was the Russian infantry was largely intact if immobile.  Nevertheless the game was technically a French victory, of sorts. 

Here are some more photos of the game just because I have them. Enjoy.


So, the outcome of the game was almost identical to the earlier version played using different rules a few days previously. What does that suggest? I guess that is the subject of a post all on its own. Anyway, both games were great fun, and I even got to play in the second one. The Guards were the stars of the show again, although the Russians were reliably stolid. Tremendous fun. 

ONE KING! A Guide to Wargaming Argyll’s and Monmouth’s Rebellion of 1685

The latest from Helion in their ‘Wargames’ series is this comprehensive, rather hefty and totally inspirational offering. The Monmouth Rebellion is I am sure we’ll known to many people in the UK; anyone of my generation might also remember the 1970s Harlech TV series ‘The Pretenders’ (available on DVD still).

But I digress. For a short lived and bloodily extinguished rebellion this ill-fated campaign had always been on the fringe of my interest in the wars of the last quarter of the seventeenth century, as not having much potential from a wargaming perspective. How wrong was I? Having read this book I am pleased to say that author Stephen M. Carter (author of ‘Fighting for Liberty, Argyll and Monmouths Military Campaigns against James II’, also published by Helion) has done a splendid job in bringing the campaign to a wargames table near you. The book has everything one might need, with lots of useful pen pictures of the senior and many junior commanders, the troops, uniforms, flags, and a clear and detailed narrative of the campaign in both the West Country and Scotland. And there is of course a great deal of effort spent outlining the numerous skirmishes and (much fewer) pitched battles, with maps, orders of battle and detailed narratives of the actions.

Aimed at wargamers, the book certainly provides everything needed for the period to be brought alive on the tabletop. As if that isn’t enough there is also a simple but well thought out and engaging mini campaign guide with scenarios for the actual encounters and also several ‘what if?’ scenarios of battles that might have been.

The book is beautifully illustrated with numerous photographs of very nicely painted wargame units, lots of colourful maps and detailed tables of the orders of battle and several pieces of artwork by Patrice Courcelle. The wargame campaign section is spot on, and includes helpful information on garrisons, dispositions and typical movement rates, together with insights suggestions on how to rate the different troops and commanders.

I cannot fault this book. It does what it sets out to do in a way that is easy to follow, whether already an enthusiast or someone with a passing interest. As I said at the start of this review, an inspirational book.

ISBN 978-1-915070-25-8, 222 pages, paperback.


Friday, 9 September 2022

BEF silly stuff…..

More BEF. I’ll finish the bases and tidying up over the weekend when I have a basing frenzy but thought I’d do this post anyway to spur me on.

My BEF force is so fortunate (?) to have the 4th Btn of the Northumberland Fusiliers amongst its ranks. They were a TA battalion mounted on motorcycles, as were a couple of their sister battalions. There’s a fun Pathe video on YouTube of a battalion in France Forward the Light Brigade


The artillery battery are equipped with 18/25pdr guns towed by old inter war still in use and obsolete Dragon tractors in the absence of enough more modern tows. I also need to give their lonely commander a couple of mates.

The motorcycles are either Early War Miniatures or SHQ. I only wanted four to make a company but have the entire battalion having ordered from both the aforementioned suppliers. There are enough bits in the box to allow for deployed and limbered versions of the guns.

The guns and limbers are from the PSC 25pdr box set and the Dragons are, if I remember correctly, Early War Miniatures. Everything is 1/72 scale.

I am really enjoying getting these done, although I can’t say I enjoyed actually sticking the m/c together! I must now knuckle down and finish off 6 and 8 Durham Light Infantry and the dismounted versions of the motorcyclists.

Game tomorrow, in a period we’ve not gamed for quite some time. I’m looking forward to it.


Wednesday, 7 September 2022

The Helder 1799. Another 'Soldiers without Napoleon game'

It’s a long time since we had a game using my French Revolutionary Wars British and Russian armies for the Helder campaign in 1799. Ill conceived, poorly resourced, badly executed. What’s not to like? I’ve been to the area and explored the sites of the battles, a long time ago now, well before lockdown, and researched the campaign enough to realise that for all its shortcomings as a military enterprise there are some great battles to fight over some unique terrain, such as the polders, canals, hundreds of feet high sand dunes (I’ve seen them and even today they are big and dwarf the houses next to them).

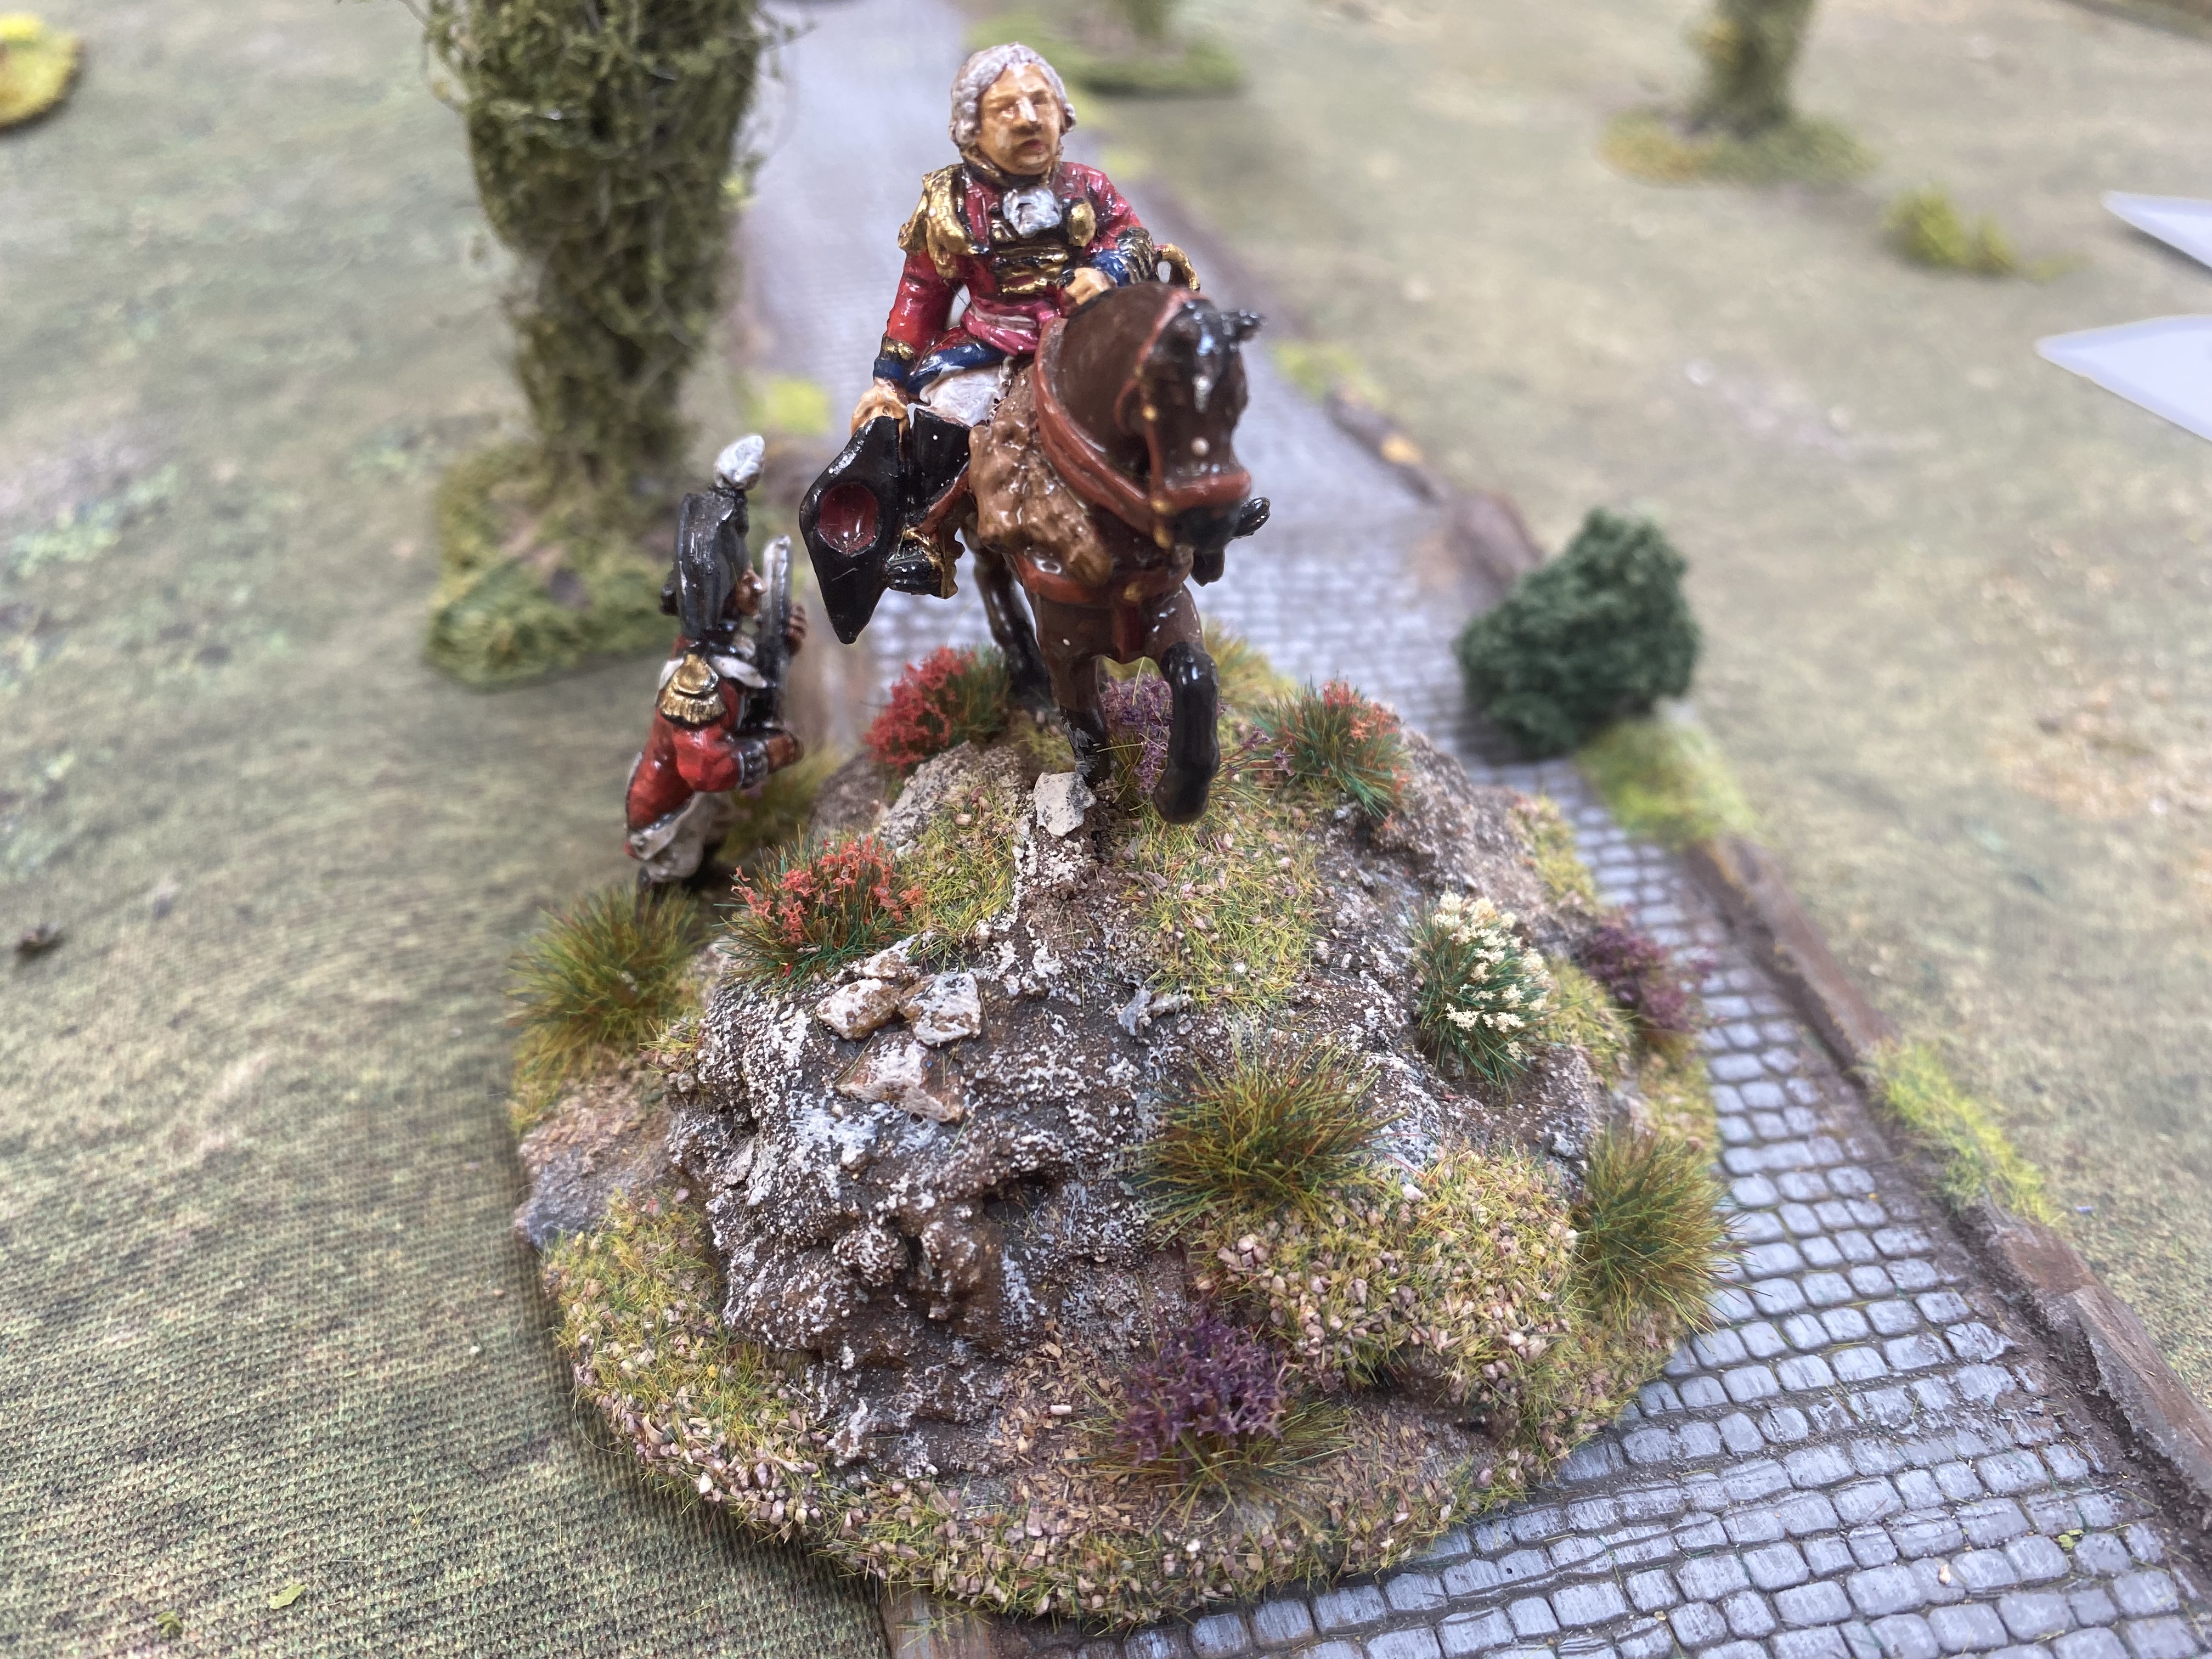
The Grand Old Duke of York on his hill.

So, a change this week, with our game on a Friday. My old friend Chris Gregg of Not Just Old School Wargaming was in the NE on holiday and had negotiated a visit to the Burrow, so it was only good manners to put a game on. Conrad, Shaun, Richard and Nigel were able to come along as well.

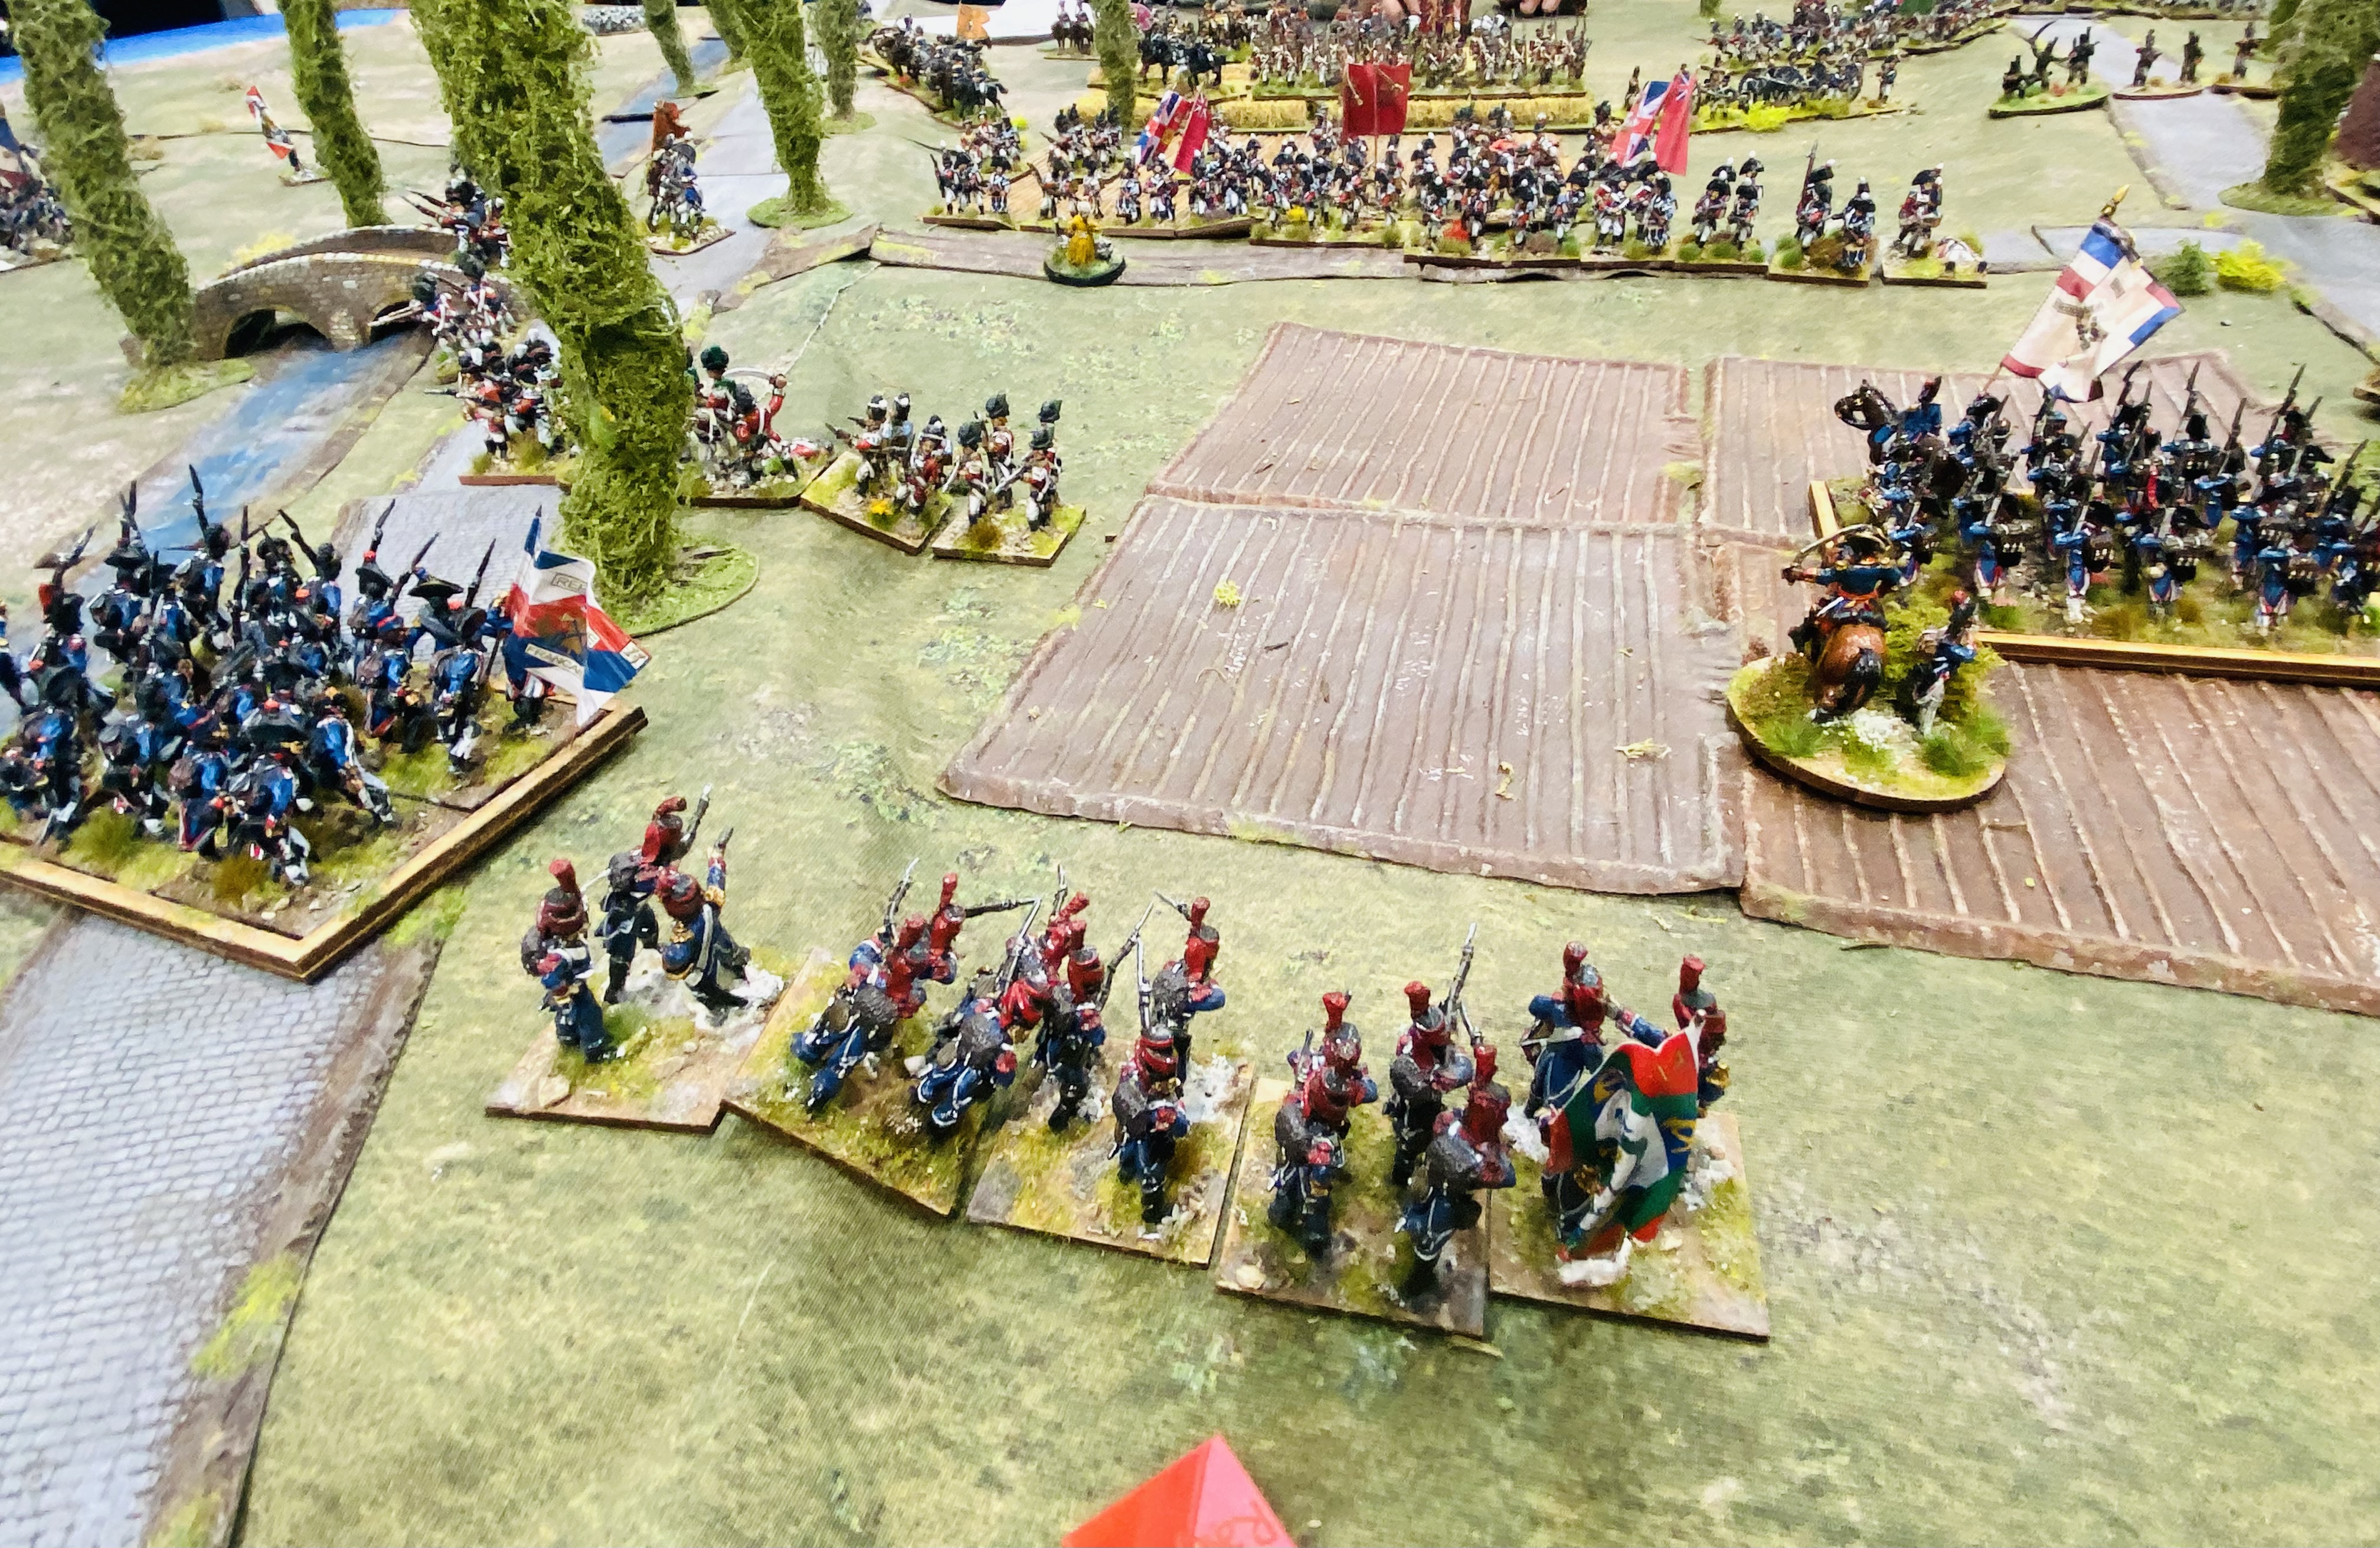
The scenario was a kind of hybrid representation of a ‘typical’ battle from the campaign, e.g Alkmar,  Bergen, with the allies (Britain and Russia) trying to force their way south towards Amsterdam through a determined French and Batavian defender. 

The allied right lay on the coast, with swathes of open ground and some very high sand dunes. Their left was anchored on a wide impassable canal/dyke. The roads and settlements were all raised up above the level of the polders, which blocked line of sight unless you were right up against the embankment. Allied objective? Capture the town and the signal towers and the three roads exiting the southern (French/Batavian) table edge. 

Conrad was General Brune, Shaun was Daendels while Richard was the Duke of York, Nigel was von Essen and Chris was General Herman, who would not arrive until lunch and Chris’ expected ETA. We were giving Soldier of Napoleon another run out. My own opinion, such as its worth, is that the rules are ok, I like the card driven order and everything else system, BUT they really are not suited to multi-player (three a side) games on a big 14' x 6' table. 

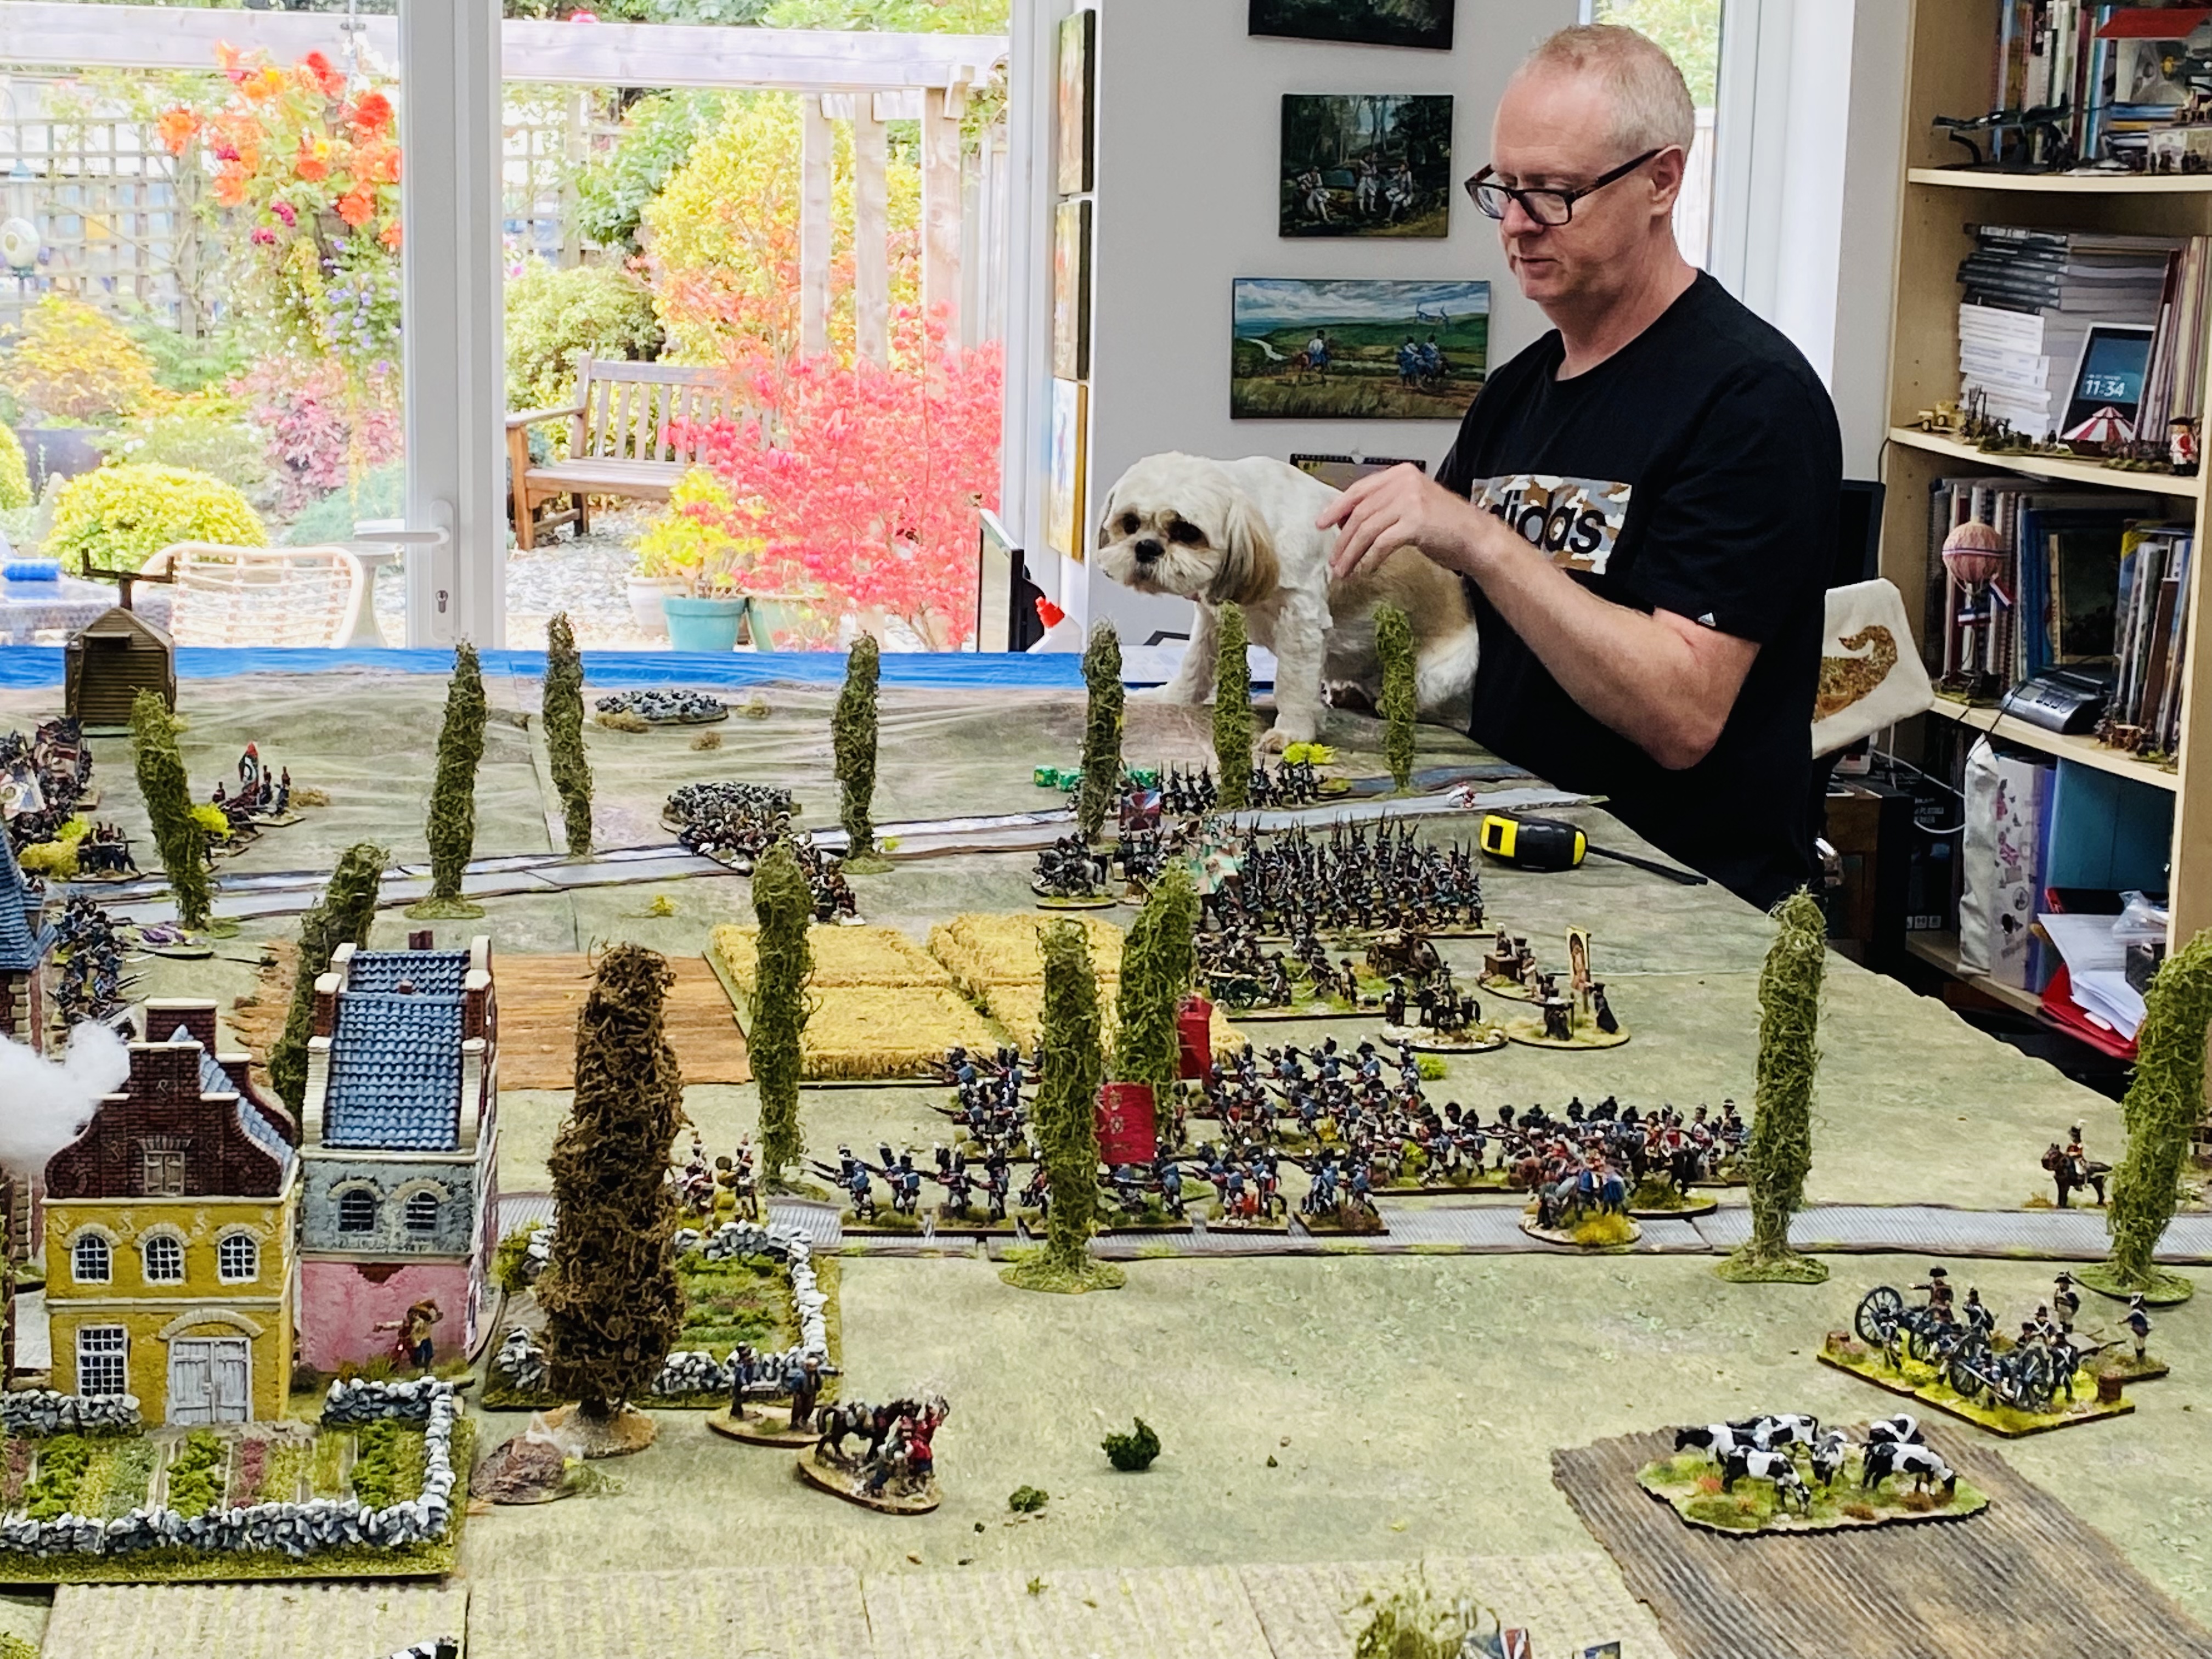
On to battle, in time honoured fashion with lots of photographs in more or less the correct order which I hope will give an indication of how the game went.

The battle field from the west at the start of the game.
......and from the other end.
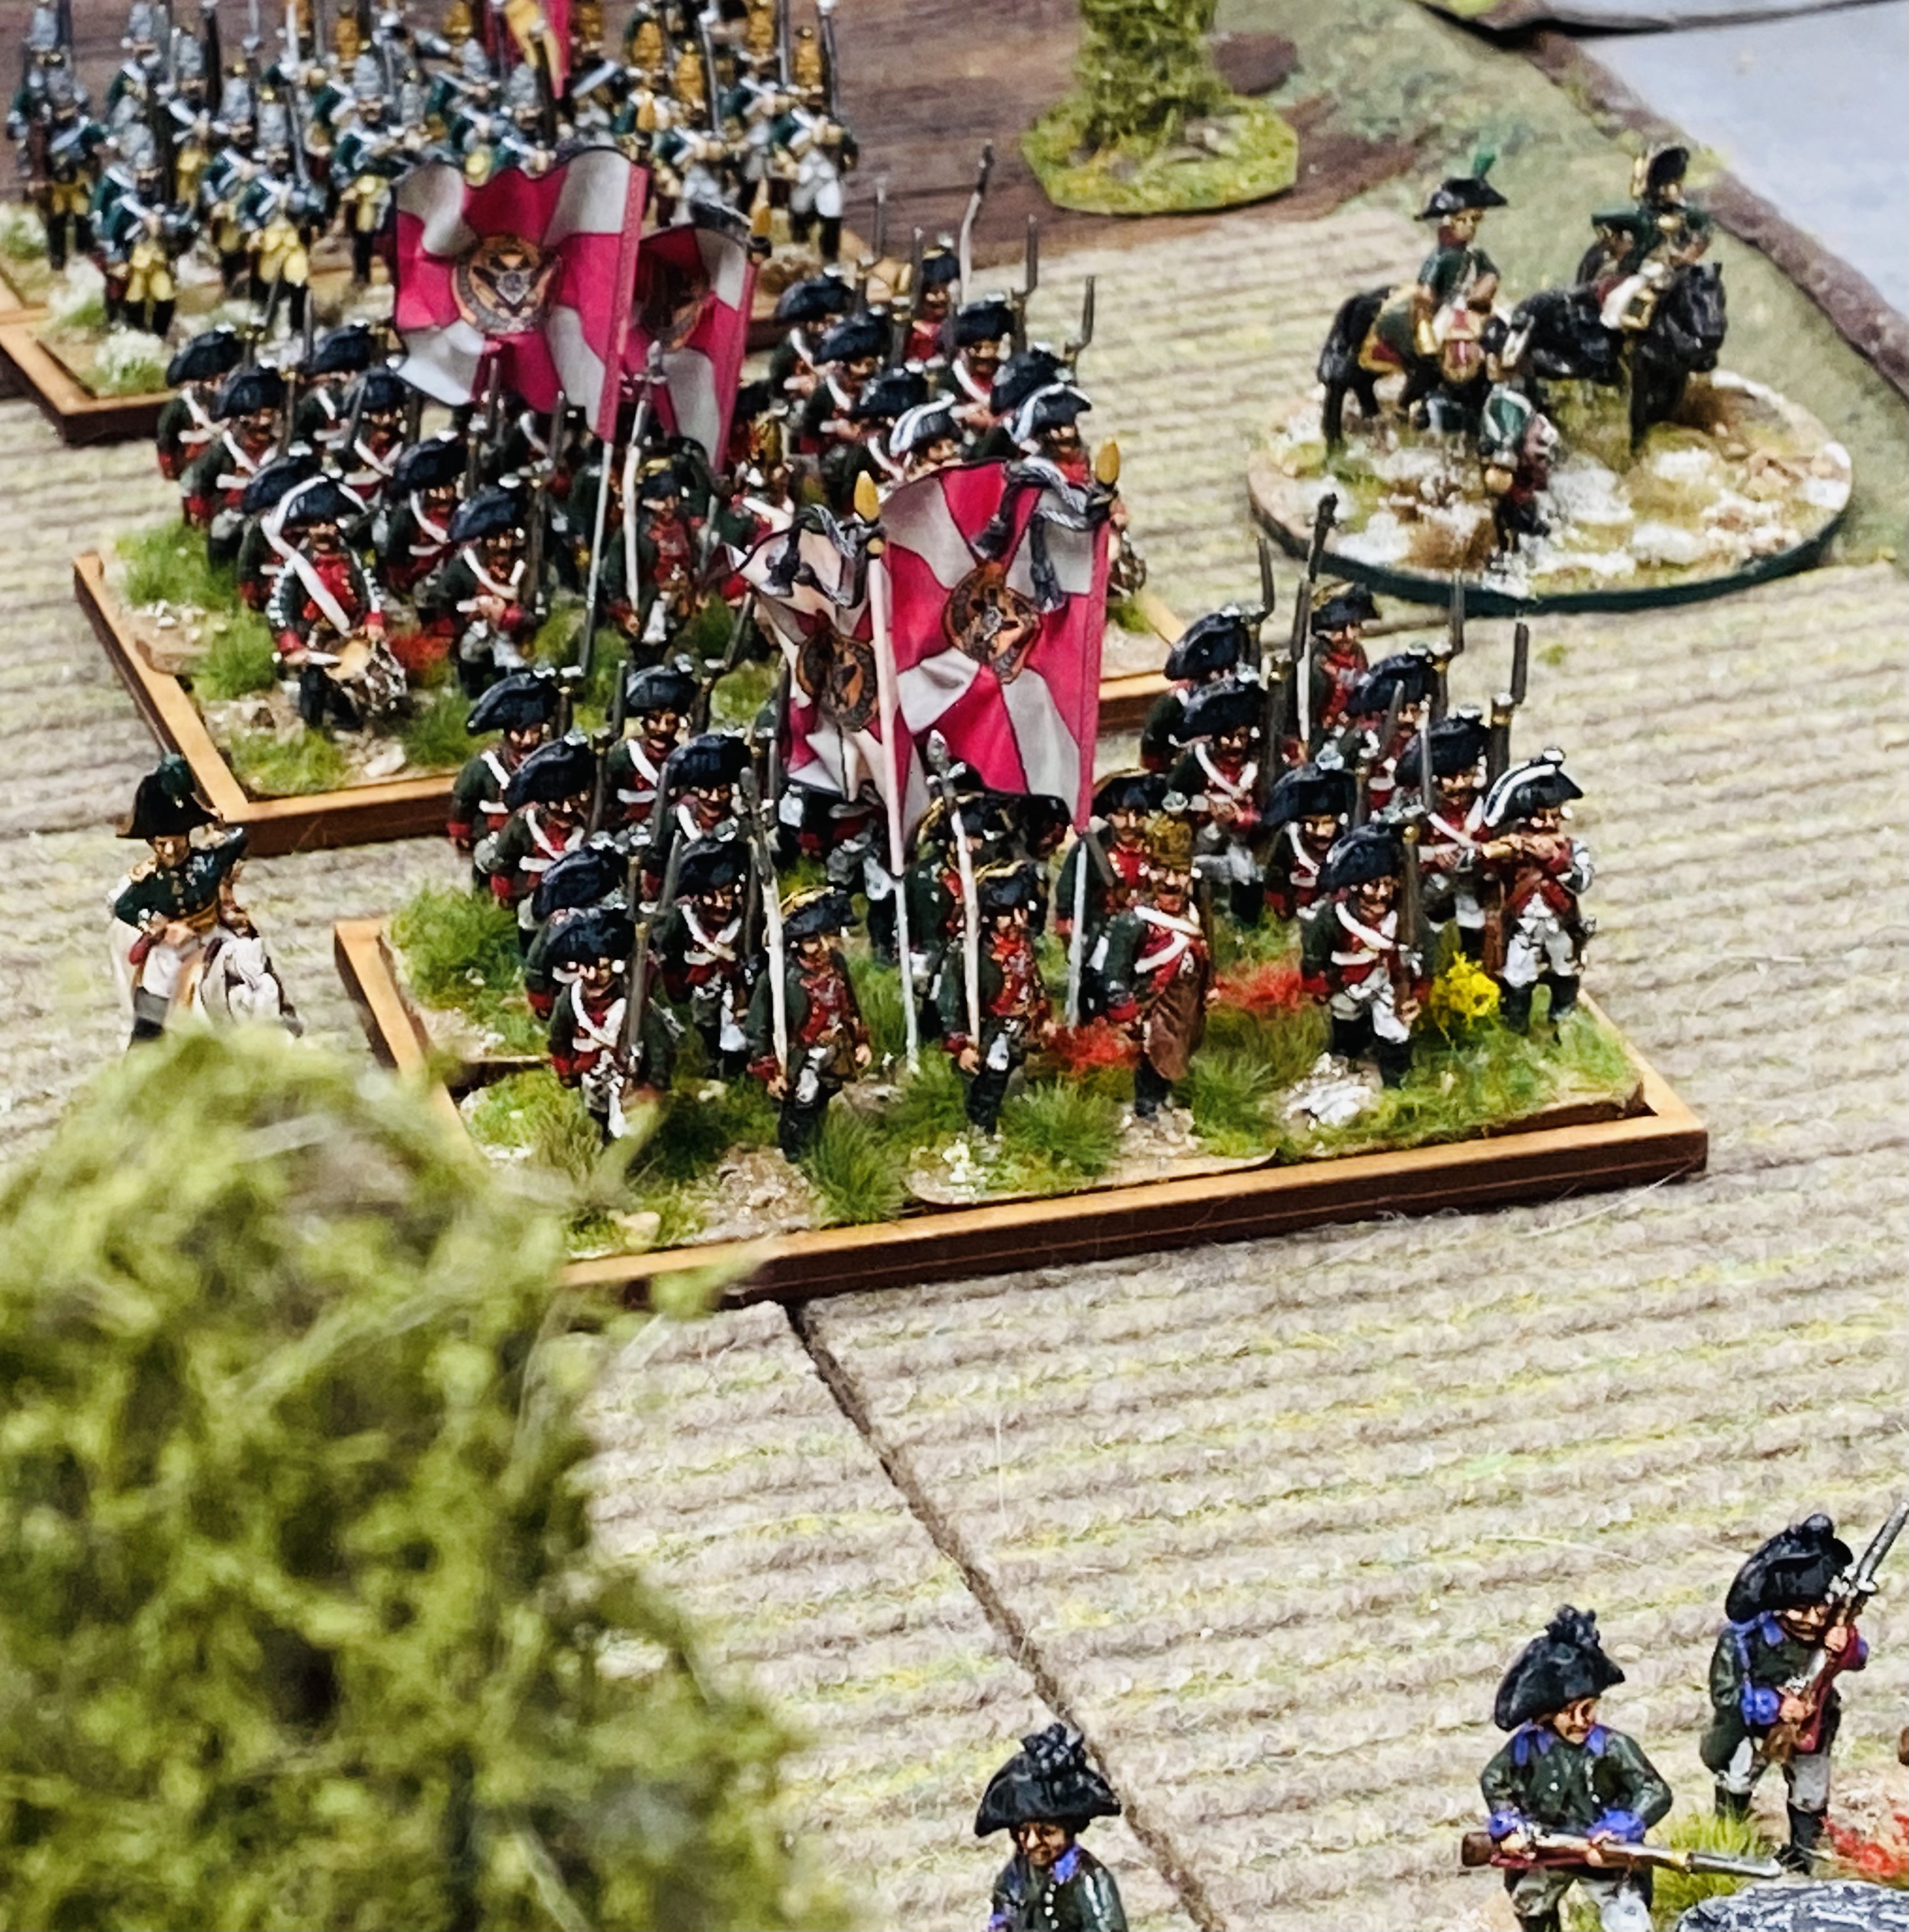
The French left wing.
.....and their right wing, complete with telegraph tower.
The French centre, with a little encouragement thrown in!
Possession of the central town was the key to victory.
The British on the left wing.
The Allied right, lots of Russians. General Fudgikov provided  Nigel with some sage advice, and then ate the instructions and buried the scraps in the garden.
The French reserves were slow to appear but this brigade of dragoons finally arrived, and they would have been followed by more cavalry and infantry if we'd had the time.
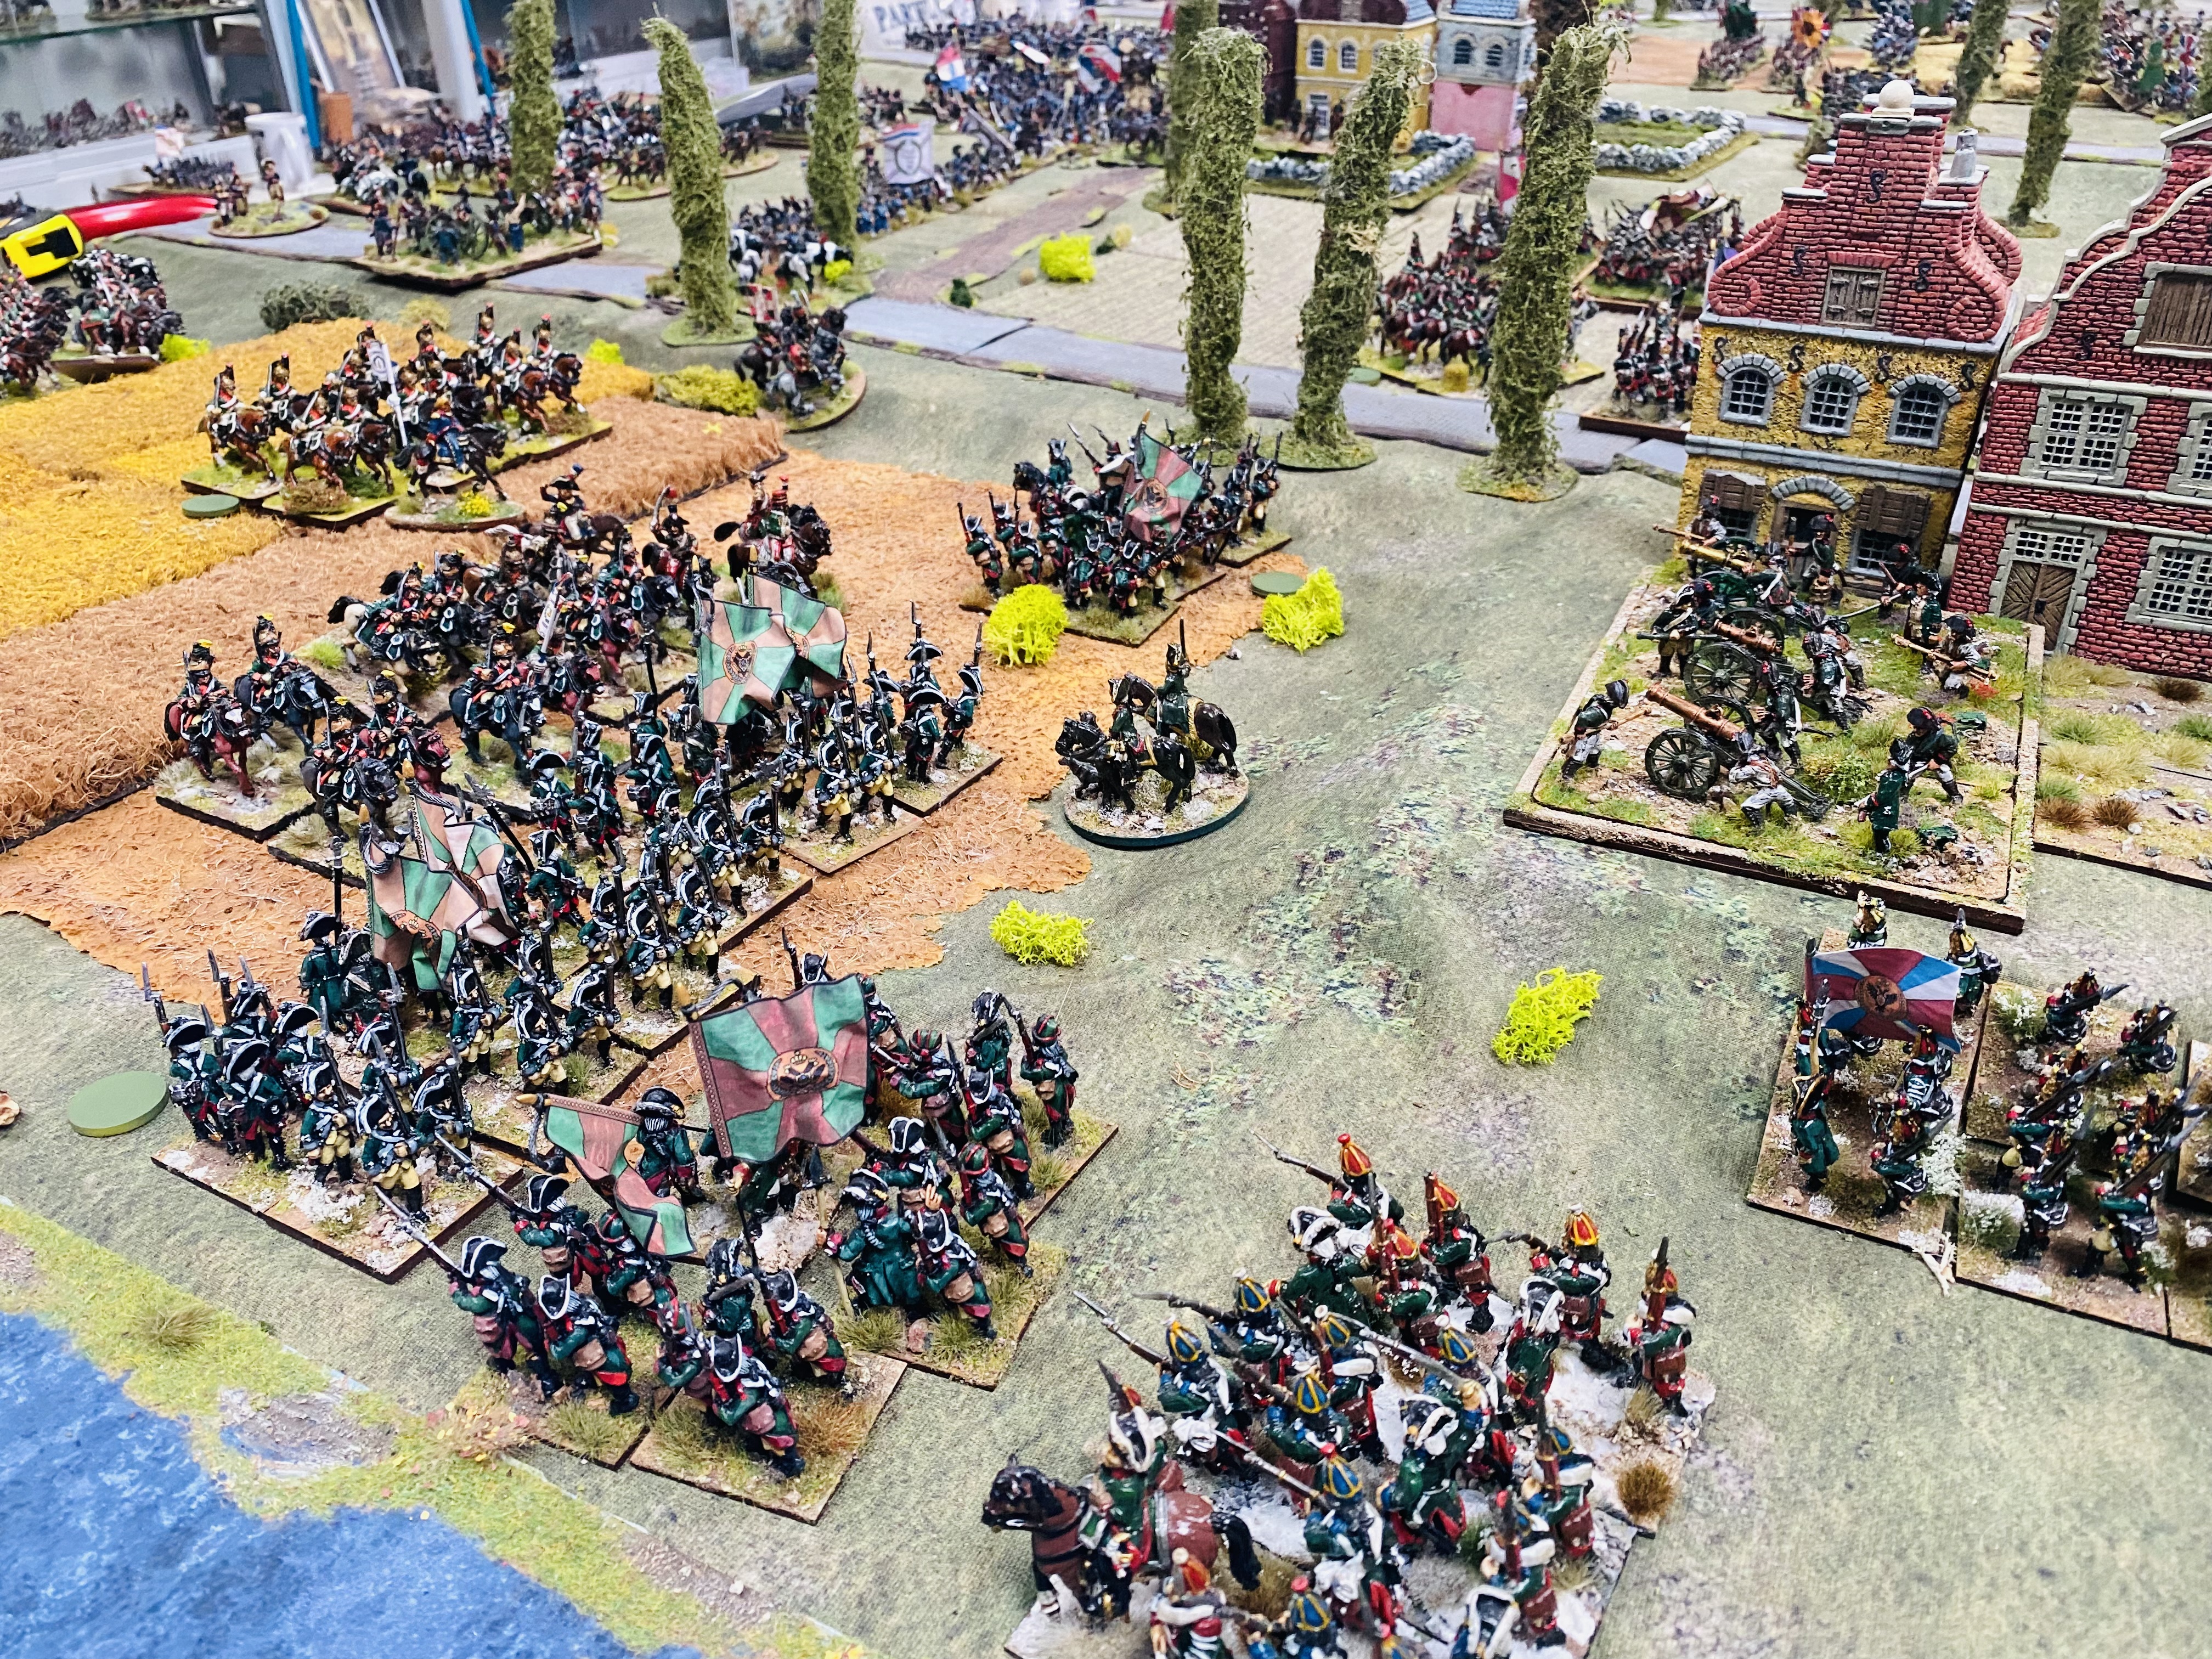
The Allied centre.
Russian grenadiers taking a pasting from French artillery and skirmishers. No surprise that they broke.
The Guards will advance!
The Guards still advancing into the teeth of the French fire.
Chris in command of the allied reserves as they arrived on the extreme right.
British infantry advancing on the left.
The Guards are steadily advancing, cutting through the enemy like a knife through butter.
Russian hussars took a chance and charged a French battalion still in  line. They made it into contact but bounced thanks to some rubbish/excellent dice rolling depending on  which side you were on.

Cossacks of the reserve. One unit was badly hit by a volley when trying to drive off French skirmishers, but the other captured the coastal telegraph tower.

The Royal Navy offshore. Had it not been for the very high (300’ and more) sand dunes they might have even been able to support the attack, and the Cossacks beat them to the telegraph tower!

The last of the Allied reserves who never made it into the game.

I enjoyed the game. The Allies had in reality made little progress and most of the French arm was pretty intact while some of the Russians were floundering. I suspect the Guards would have seen off some more French before having to retreat due to losses sustained in the attack. A brave showing however!

In the end I called it a small French victory (they had also collected more victory points as per the rules) which was thought to be a fair outcome.

Hopefully everyone had a good time and it was good to see Chris for the first time since before the pandemic. I am still of the view that SoN are not really going to be made go to set of rules but they do make for a challenging game. Now, where is m copy of General d'Armée?